How to use a Raspberry Pi 4 as a Minecraft Java Server
- The Tech Platform

- Sep 8, 2020
- 2 min read
Updated: Mar 26, 2023
First, set up your Raspberry Pi. I like NOOBS as it's super easy to setup. If you want to make things faster for setup and possibly set up your Pi without having to connect a monitor, mouse, or keyboard, mount your SSD card and create a new empty file named ssh, without any extension, inside the boot directory to enable ssh on boot. Remember the default user name is pi and the password is raspberry.
SSH over to your Raspberry Pi. You can use Putty, but I like using Windows 10's built-in SSH. Do your standard update stuff, and also install a JDK:
sudo apt update
sudo apt upgrade
sudo apt install default-jdk
There are other Minecraft 3rd party Java Servers you can use, the most popular being Spigot, but the easiest server you can run is the one from Minecraft themselves.
Go to https://www.minecraft.net/en-us/download/server in a browser. It'll say something like "Download minecraft_server.1.16.2.jar and run it with the following command." That version number and URL will change in the future. Right-click and copy link into your clipboard We are going to PASTE it (right click with your mouse) after the "wget" below. So we'll make a folder, download the server.jar, then run it.
cd ~
mkdir MinecraftServer
cd MinecraftServer
wget https://launcher.mojang.com/v1/objects/c5f6fb23c3876461d46ec380421e42b289789530/server.jar
java -Xmx2500M -Xms2500M -jar server.jar nogui
You'll get a warning that you didn't accept the EULA, so now open "pico eula.txt" and set eula=true, then hit Ctrl-X and Yes to save the new file. Press the up key and run your command again.
java -Xmx2500M -Xms2500M -jar server.jar noguiYou could also make a start.sh text file with pico then chmod +x to make it an easier single command way to start your server. Since I have a Raspberry Pi 4 with 4g gigs of RAM and it'll be doing just this one server, I felt 2500 megs of RAM was a sweet spot. Java ran out of memory at 3 gigs.
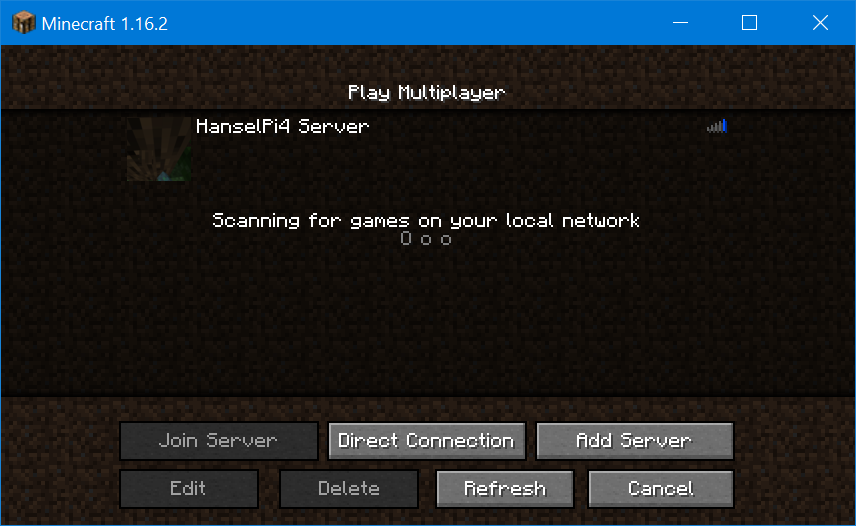
You can then run ifconfig at and command line and get your Pi's IP address, or type hostname to get its name. Then you can connect to your world with that name or ip.
PERFORMANCE ISSUES WITH COMPLEX WORLDS
With very large Minecraft worlds or worlds like my son's with 500+ Iron Golems and Chickens, you may get an error like
[Server Watchdog/FATAL]: A single server tick took 60.00 seconds (should be max 0.05)You can workaround this in a few ways. You can gently overclock your Pi4 if it has a fan by adding this to the end of your /boot/config.txt (read articles on overclocking a Pi to be safe)
over_voltage=3
arm_freq=1850
And/or you can disable the Minecraft internal watchdog for ticks by setting max-tick-time to -1 in your server's server.properties file.
We solved our issue by killing about 480+ Iron Golems with
/kill @e[type=minecraft:iron_golem]but that's up to you. Just be aware that the Pi is fast but not thousands of moving entities in Minecraft fast. For us this works great though and is teaching my kids about the command line, editing text files, and ssh'ing into things.
Source: Paper.li


Comments