React Native
- The Tech Platform

- Nov 6, 2020
- 3 min read
What is React Native?
React Native is a way to write a cross-platform application on JavaScript. If you know JavaScript, then probably you can get started with React Native immediately, because it will provide you with a way to write JavaScript and then turn that JavaScript into your native code.
It does not really turn that code into a native code ( you can take a look under the hood) but let's just keep that abstracted. So, let's just assume that React Native somehow does the magic and turns your JavaScript code into native code. And basically, once you are done with that, your application actually runs natively. So, it is not running into a browser or something which some hybrid application frameworks do. React Native actually runs the native code on your device, plus it's super fast to do so and super easy to learn. All you have to know is JavaScript. If you already know JavaScript or you have been working with JavaScript for some time, then you are good to go.
Basically, for Android and iOS, the downsides of React Native are that you cannot create every app with it. React Native is sometimes not suitable for developing high-end performance applications like games. In that case, a native application is still the best because you have lots of gears in hand.
Getting Started With React Native
Setting Up React Native
Go to the official documentation of react-native and click on the "Get Started" button. The confusion starts here. There are two sections -quick start and building project with native code. Most of the people who dive into React Native will go for the quick start section, which is just a couple of lines and good to go. Now for me, building a project with native code is the best option. This runs on Expo client which I don't like and it will limit you in a lot of ways because React Native on its own is like you are writing JavaScript plus you can do a lot of stuff.
But when you are using something like Expo, you get bundled, so you are not allowed to move out of a specific room. So, if you want to go with this Expo, you can. However, I would suggest you go with the native code by building projects with native codes.
Go ahead with installing node by using the following commands.
brew install node
brew install watchman
Then, install the React Native command line interface by using this command.
npm install -g react-native-cli Now, the React Native setup is completed. If you have Android Studio installed, it's fine. Otherwise, follow the SDK installation steps in the official documentation. Assuming that you have set up Android Studio, let's start creating our HelloWorld application,
react native init <projectName>
react-native init HelloWorld
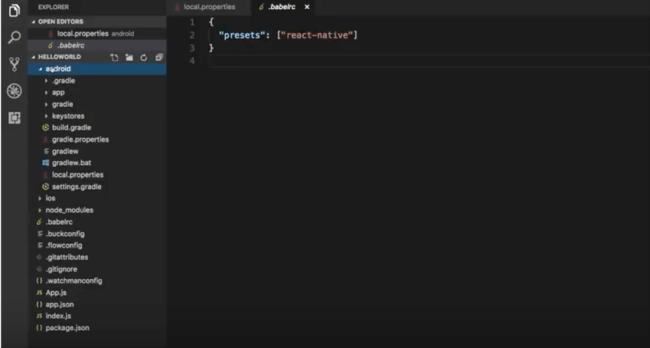
This will create a React Native application on the specified location. This project will contain an Android folder and an iOS folder.
There will be one file called App.js. You can open this file in any of the text editors. The content would be like the following.
/**
 * Sample React Native App
 * https://github.com/facebook/react-native
 *
 * @format
 * @flow
 */
import React, {
    Component
} from 'react';
import {
    Platform,
    StyleSheet,
    Text,
    View
} from 'react-native';
const instructions = Platform.select({
    ios: 'Press Cmd+R to reload,\n' + 'Cmd+D or shake for dev menu',
    android: 'Double tap R on your keyboard to reload,\n' + 'Shake or press menu button for dev menu',
});
type Props = {};
export default class App extends Component < Props > {
    render() {
 return ( < View style = {
            styles.container
        } > < Text style = {
            styles.welcome
        } > Hello World < /Text> < /View>);
    }
}
const styles = StyleSheet.create({
    container: {
        flex: 1,
        justifyContent: 'center',
        alignItems: 'center',
        backgroundColor: '#F5FCFF',
    },
    welcome: {
        fontSize: 20,
        textAlign: 'center',
        margin: 10,
    },
    instructions: {
        textAlign: 'center',
        color: '#333333',
        marginBottom: 5,
    },
});
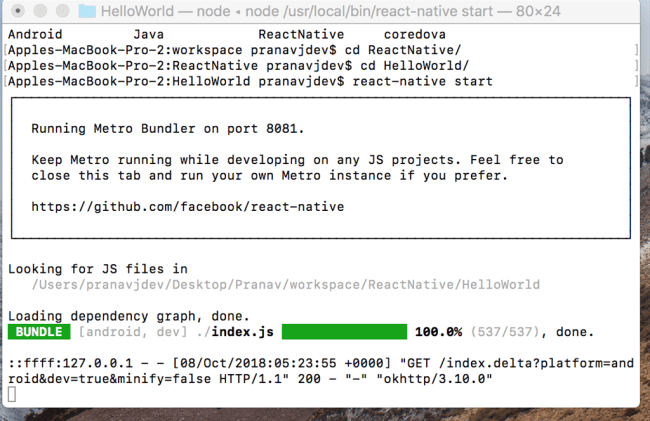
And the View tag contains the elements which will be shown in the UI. Now, the Hello World application is ready. And you can run the application by using the following command,
react-native start,
The main application contains Android and iOS folders; you can open the Android folder in your Android Studio and click Run button and you can see the result in your emulator.
Cheers. Happy coding !!
Source: C# Corner


Comments