
PowerPoint Presentation Tips and Tricks
- The Tech Platform

- Jun 14, 2021
- 4 min read
PowerPoint Presentation allows us to create anything from basic slide show to complex presentation. It can also be used to create Business presentations, Educational Presentation and for informal purpose. Presentation includes Text, Images, Media , Sound Effects, Transitions and other Effects which help us to make attractive presentation.
While we Create Presentation, there are some of the tips and tricks which should be followed and known before making the presentation.
Below are some of the PowerPoint Presentation Tips and Tricks :
1. Don't let PowerPoint decide how you use PowerPoint: PowerPoint provide us lots of tools but we should not use all the tools for one single presentation. We should not use default fonts , this can make our presentation underwhelming. Consider your own sound tracks.
2. Create custom slide sizes: While you usually can get away with the default slide size for most presentations, you may need to adjust it for larger presentations on weirdly sized displays. If you need to do that, here's how.
In the top-left corner, choose "File."
Select "Page Setup."
Type the height and width of the background you'd like, and click "OK."
A dialogue box will appear. Click "OK" again.
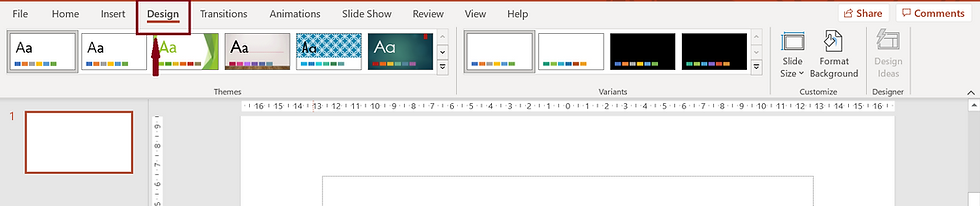
3. Edit your slide template design: Its easier to edit the template . Follow the steps:
Select "DESIGN" in the top navigation. You will multiple options of themes for the presentation.
Its not compulsory that you have to select the design or theme to the presentation. You can also select simple colors for your presentation. RIGHT CLICK -> FORMAT BACHGROUND -> COLOR

In Format Background, you can add pattern, Gradient, Picture, Texture and hide the background graphics.
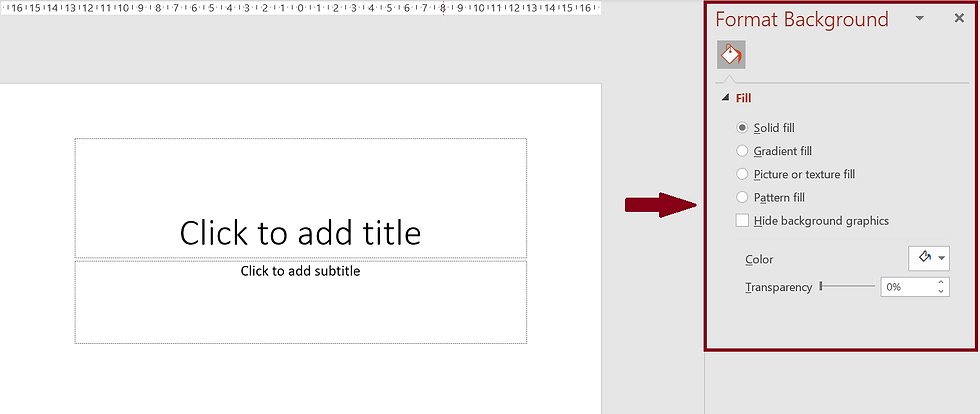
For example, I have Selected Blue color for the presentation. You can select blue color for single slide and you can also make it to the whole presentation. Option is yours.

4. Write text with your audience in mind: A significant part of a PowerPoint's content is text. Great copy can make or break your presentation, so evaluating your written work from a few different angles could make you seem more persuasive. Thinking about how your text is received differentiates good presenters from the best.
5. Make sure all of your objects are properly aligned: Having properly aligned objects on your slide is the key to making it look polished and professional. You can manually try to line up your images ... but we all know how that typically works out. You're trying to make sure all of your objects hang out in the middle of your slide, but when you drag them there, it still doesn't look quite right.
Below are two images which are not aligned. First Select the image which you want to align

Then Click on SHAPE FORMAT in top navigation. Select ARRANGE -> ALIGN.

After click Align option, you can make the image to Right, Left, Center, Top , Middle ,Bottom, Horizontally and Vertically .

For Example, I have Selected the ALIGN TO MIDDLE Option. And Below are the results.

6. Use "Format Menus" to better control your objects' designs: Format menus allow you to do fine adjustments that otherwise seem impossible. To do this, right click on an object and select the "Format" option. Here, you can fine-tune shadows, adjust shape measurements, create reflections, and much more.

7. Take advantage of PowerPoint's shapes: Many users don’t realize how flexible PowerPoint’s shape tools have become. In combination with the expanded format options released by Microsoft in 2010, the potential for good design with shapes is readily available. PowerPoint provides the user with a bunch of great shape options beyond the traditional rectangle, oval, and rounded rectangle patterns, unlike even professional design programs like Adobe Creative Suite or Quark.

8. Create custom shapes: When you create a shape, right click and press "Edit Points." By editing points, you can create custom shapes that fit your specific need.
9. Crop images into custom shapes: Besides creating custom shapes in your presentation, you can also use PowerPoint to crop existing images into new shapes.
Add the image to the presentation. After Selecting the image, Design Options will be displayed at the right side of the Presentation.

Here, I have selected the 1st option for the design. You can change according to your preference.

10. Present websites within PowerPoint: In a PowerPoint, you should just create link to the page and prompt a browser to open. For PC users, there’s a better option.

In this presentation, You can add multiple links . Links are used for quick access of webpages and files.
11. Try Using GIFs: GIFs are looped animated images used to communicate a mood, idea, information, and much more. Users add GIFs to Powerpoints to be funny or quickly demo a process. It's easy to add GIFs to your slides
12. Keep it simple: PowerPoint is an excellent tool to support your presentation with visual information, graphics, and supplemental points. This means that your powerpoint should not be your entire presentation. Your slides -- no matter how creative and beautiful -- shouldn't be the star of the show. Keep your text and images clear and concise, using them only to supplement your message and authority.
13. Embed your font files: One constant problem presenters have with PowerPoint is that fonts seem to change when presenters move from one computer to another. In reality, the fonts are not changing -- the presentation computer just doesn’t have the same font files installed.
14. Use "Presenter View: This tool can help unify their spoken presentation and their visual aid. You never want to make the PowerPoint seem like a stack of notes that you use a crutch. Use the Presenter View option to help create a more natural presentation.

The Tech Platform


Comments