
How to use Microphone Control in PowerApps?
- Sofia Sondh

- Jan 20, 2023
- 3 min read
In this article, we will have a brief introduction to How to use Microphone Control in PowerApps? We will also give step-by-step to add audio and microphone in PowerApps.

Let's begin..
What is Microphone Control?
In PowerApps, the Microphone control allows users to record audio using the microphone on their device. The recorded audio can then be used within PowerApps, such as for voice recognition or speech-to-text functionality. The control can be added to a PowerApps and configured to meet the specific needs of the app.
The recorded audio clip is available through the Audio property where the audio can be:
Stored in a database: If you want to store the recorded audio clips or sound in a database, then you can use the PowerApps Patch function.
Transmitted as a base64 encoded text string: To convert the recorded audio clips to base64 encode, use the JSON function.
Played back with the Audio control: To listen to the recent recording, you can use the Audio control.
Temporarily put in a collection or a variable: You can use the PowerApps Collect function to store the recorded audio clips. Similarly, you can use the Set function to store the record in a Variable. The SaveData and LoadData function helps to move the audio clips to the local storage on the device.
The microphone control is a feature of PowerApps, a low-code platform for creating business-specific apps that can be integrated with various data sources and services. It can be used to create custom forms, workflows, and more, without the need for extensive coding experience.
How to Add Microphone Control in Powerapps?
To insert the Microphone Control in Powerapps, follow the below steps:
STEP 1: Open the PowerApps app.
STEP 2: Create a blank new Canvas app.
To create a Canvas app, click "Create" on the Canvas app. (See the below image)

Enter the name of the app and choose the layout either Tablet or Phone. Click Create.

STEP 3: Blank screen will appear.

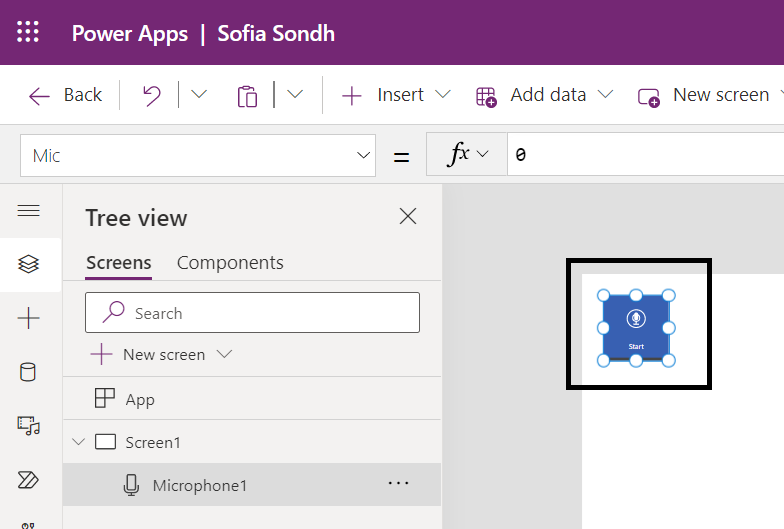
Now, click on Insert => Media => Microphone to add Microphone control to the PowerApps screen.
STEP 4: Click on Insert => Media => Audio to add Audio to your app. This is used to listen to your recorded video.

STEP 5: Now, select the Audio control and set its Media property as:
Media = Microphone1.AudioWhere,
Microphone1 = Microphone control name

STEP 6: Preview the app or press F5.
STEP 7: To start recording,
Click/tap on the Microphone control.
Speak to record your voice.
Again, click/tap on the Microphone control to stop the recording.
STEP 8: Tap the start button of the Audio control to listen to the recorded audio clip.
How to Add Microphone/audio to a Gallery?
Suppose there are some important Audio clips and you want to collect all the Microphone audio clips that you have recently recorded. In that case, you can use the Powerapps Collect function and store it in a Gallery control.
Follow the below steps to do so:
STEP 1: Open the Powerapps screen and add a Microphone control.
STEP 2: Select the Microphone control and set its OnStop property as:
OnStop = Collect(SoundCollection, Microphone1.Audio )Where,
Collect = This Powerapps function helps to create Powerapps Collection
SoundCollection = Collection name
Microphone1 = Microphone control name

STEP 3: Insert a Gallery control. Click on Insert => Popular => Vertical Gallery.

Change the layout to "Title".

STEP 4: Select the Gallery control and set its Items property as:
Items = SoundCollection Where,
Collection is the name that you created in the Microphone control’s OnStop property.

STEP 5: Now, add an Audio control inside the Gallery control and set its Media property as:
Media = ThisItem.UrlSTEP 6: Preview the app or press F5.
STEP 7: Start and stop the recording by using the Microphone control.
You can see all the recorded audio clips have been stored in the gallery control. Just click on any Play button of the audio control that you want to listen to.
How to delete Record from Gallery?
If you want to delete or remove the unnecessary recorded audio clips from the PowerApps gallery control, then follow the below steps:
STEP 1: First you need to add a Trash icon.
Click on Insert => Icons => Trash inside the Gallery control to add the trash icon.

STEP 2: Now, set its OnSelect property as:
OnSelect = Remove( SoundCollection, ThisItem )Where,
Remove = This Powerapps function helps to delete or remove the item.
SoundCollection = Collection name

STEP 3: When you will click on the Trash icon of a specific audio clip, then it will remove from the gallery.
Conclusion
In conclusion, microphone control in PowerApps allows users to record audio within the app, providing an enhanced user experience and additional functionality. This feature can be useful for a variety of applications, such as creating voice notes, recording meetings, or providing voice commands. To implement microphone control in PowerApps, developers can use the built-in Microphone control, along with other controls and actions, to create a seamless and user-friendly interface. It is important to keep in mind the necessary permissions and privacy considerations when implementing microphone control in PowerApps.
The Tech Platform


Comments