Introducing Microsoft's SharePoint Migration Tool
- Manpreet Singh

- Mar 22, 2019
- 2 min read
Welcome to an article about Microsoft’s own SharePoint Migration Tool. Why own? - Because, for ages, we have been migrating SharePoint data using third-party tools that come with expensive packages for all kinds of version migration.
This new tool migrates the data between the on-premise sites and even between the on-premise to Office 365 and vice versa. The tool is in a beta mode but comes in with a good UI for all end-users to use. Most importantly, it is absolutely free for all.
Let’s explore the tool and see its features.
Steps
1. Download the free tool using the below Link.
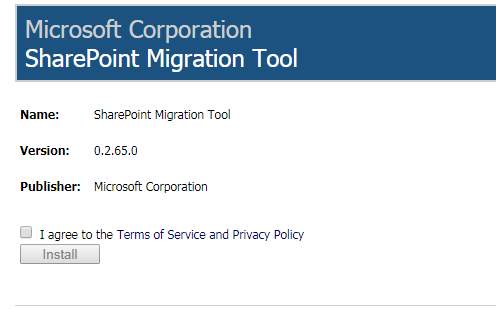
2. When you open, accept the terms and "Install".
3. It’s a 15 MB file and will be quick to install.
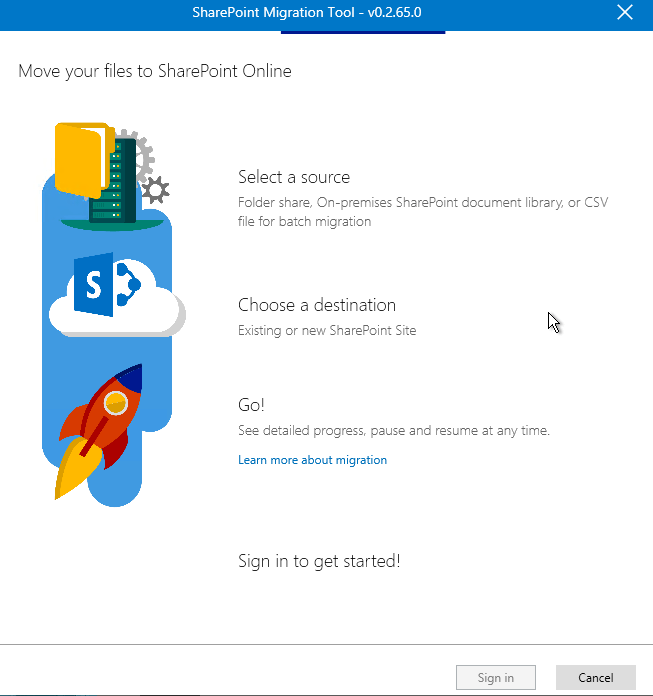
4. Once the installation is over, the tool will launch itself.
5. Sign In to the tool and use the tool for the below criteria -
SharePoint on-premises
File Share
CSV file for bulk migration
6. Provide the link of the site where you want to migrate from.
7. Once you provide the site details, it will populate all the lists and libraries.
8. Select the list/library you want to migrate.
9. Provide the Destination Site link which will populate all the lists/libraries.
10. You can choose the destined list or library and migrate the content.
11. Once updated, you will reach the final step.
12. Click on the Settings icon at the right corner to configure.
13. Configuration
Perform Scanning - Choose if you only want to perform scanning.
Enable Incremental Migration- Select if you want only incremental migration.
Migrate File Version History - Choose if you want to migrate file version history & to keep all versions.
Date - Filter accordingly within the dates.
Invalid Characters - Select if you want to migrate the files with valid or invalid characters.
Migrate OneNote - Select if you want to migrate OneNote folder as OneNote notebook.
Azure Active Directory lookup - Select if you want Azure Active Directory lookup.
Preserve Permission - Choose if you want to preserve permissions or you can also map using a mapping file.
Azure Storage - You can choose to have a tool working folder as default or you can have a custom or you can use Azure storage.
14. Once the configuration is over, click on Migrate.
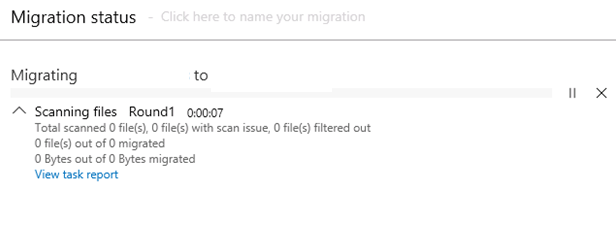
15. You can view the migration status and by clicking on the "Task Report", you can view all the log files on the local computer.
The time is directly proportional to the data on the list or libraries. Lists are faster compared to the document libraries.
Here, in this article, we saw our new migration tool free for end-users to move their data within SharePoint versions and not to use any third-party tools for this process.
Let’s wish this beta model of the tool comes with a complete feature soon and assist all SharePoint users to achieve more.


Comments