
Install SharePoint Dispose Checker Tool
- Vijai Anand Ramalingam

- Apr 1, 2019
- 1 min read
Introduction:
SPDisposeCheck is a tool used by SharePoint Developers to check the custom SharePoint solutions that use the SharePoint Object Model for proper memory leaks. In this article we will be seeing how to install SPDisposeCheck tool.
Download SharePoint Dispose Checker Tool:
Download SPDisposeCheck from here.
Install SPDisposeCheck:
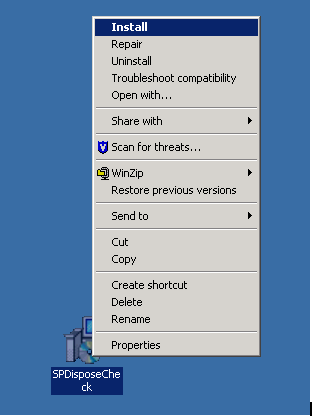
Right click on SPDisposeCheck.msi, and then click on Install.
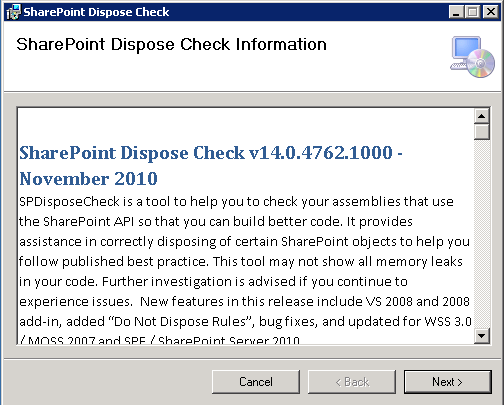
SharePoint Dispose Check wizard will pop up, click on Next.
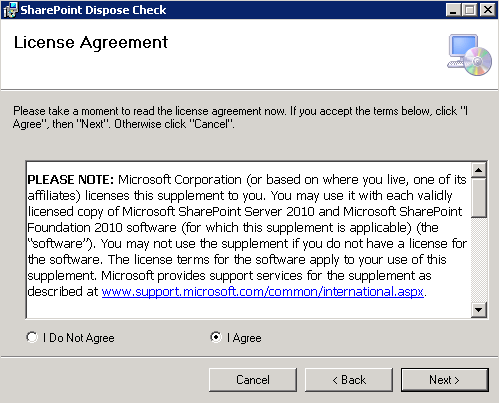
In the License Agreement select I Agree and then click on Next.
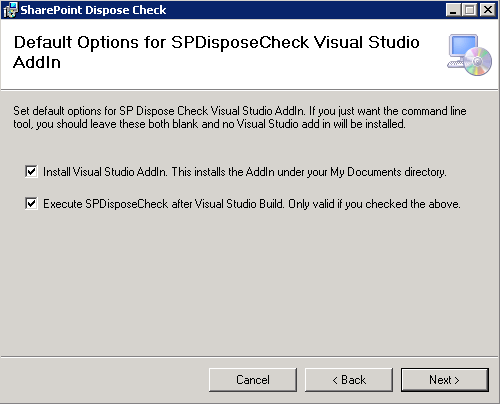
Set the default options for SP Dispose Check Visual Studio AddIn and then click on Next.
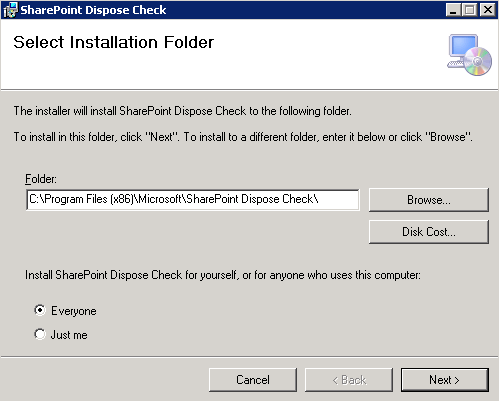
Select the installation folder by clicking on browse and then click on Next.
SharePoint Disposal Check will be installed successfully as shown.
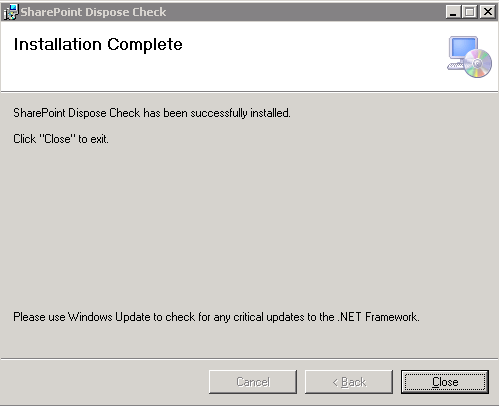
Click on Close.


Comments