This article applies to every Angular version, including 9. To share component data you can use the following:
@Input — property binding
@Output and EventEmitter — event binding
@ViewChild andAfterViewInit
Let’s look at each of them in turn.
@Input — Property Binding
If you want to pass data from the parent component to the child component, you need to use two things: @Input and property binding.
In this example, we set in the child component a variable named childExample, which is a string. We set Angular’s@Input decorator in front of the variable.
Code display by Carbon
This gives us the option to add an attribute to the selector (``) of the child, as highlighted in the example below:
In the parent, we declare a variable named parentExample. We give it a value of [childExample]. The result is that the text “Hello Angular 7” is displayed in the child component.
@Output & EventEmitter — Event Binding
With @Output and EventEmitter it’s the other way around. You can pass data back from the child to the parent component. Again, we declare a variable in the child, but this time with the@Output decorator and a new EventEmitter:
We want to emit an event to the parent component by doing the following:
On every button click in the child component we’re passing the text “Hello Angular 7” to a parent component.
In our parent component we can now set an event to the child selector (``). As you can see, we use the exampleOutput from the child, which has as value a method called exampleMethodParent with parameter $event.
Now, on every button click in the child, we get a text through an event in our parent method. In this method, we give example the value of $event. Through interpolation ({{ exampleParent }}), we can now see our child’s example text.
@ViewChild & AfterViewInit
The third way to pass data is by using @ViewChild and AfterViewInit. With this final option, we can refer to a child component and access their variables inside our parent component.
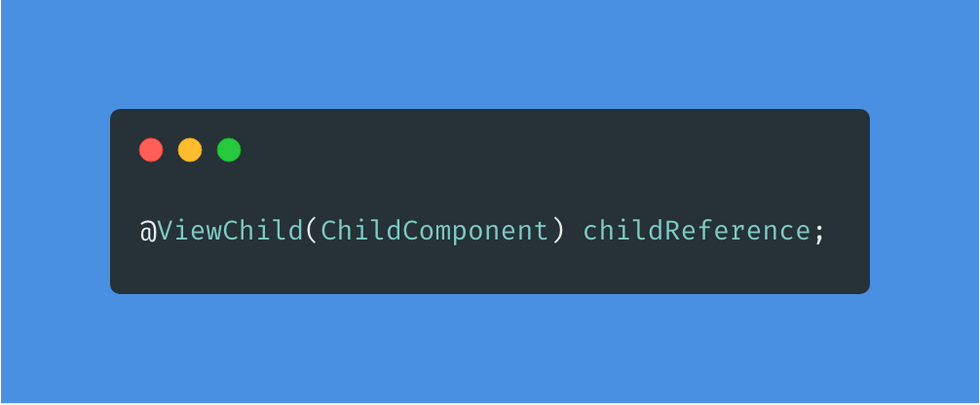
The decorator is set in the parent component. We declare the following in the class:
We also need to implement the AfterViewInit lifecycle hook, because the child is not available until the view is initialized. In the ngAfterViewInit() method we access the exampleChild from the ChildComponent and give the value to the exampleParent variable.
Our complete ParentComponent will look like this:
Again, through interpolation ({{ exampleParent }}), we can now see our child’s example text.
Thank you for reading!
Source: Paper.li


Comments