
How to Create Site Using NINTEX Workflow in SharePoint
- Vijai Anand Ramalingam

- Mar 4, 2019
- 2 min read
In this article you will see how to create a site using NINTEX workflow in SharePoint.
Introduction
In this article you will see how to create a site using NINTEX workflow in SharePoint. I have created a custom list named "Site Provisioning" in which I have the following columns:

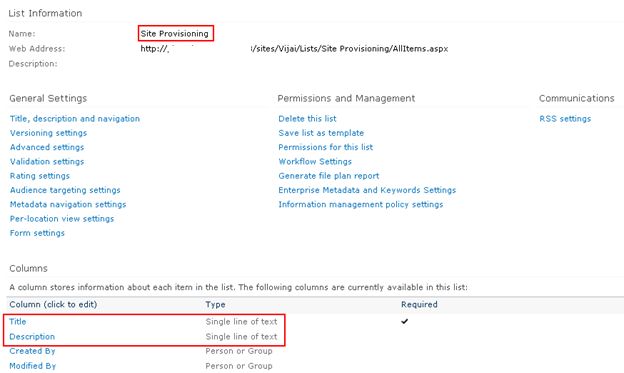
The Title column is used to specify the site Title and Description columns to be used to specify the site description.
Create site creation workflow
Navigate to the Site Provisioning list.
Click on the List tab and then click on Workflow Settings.
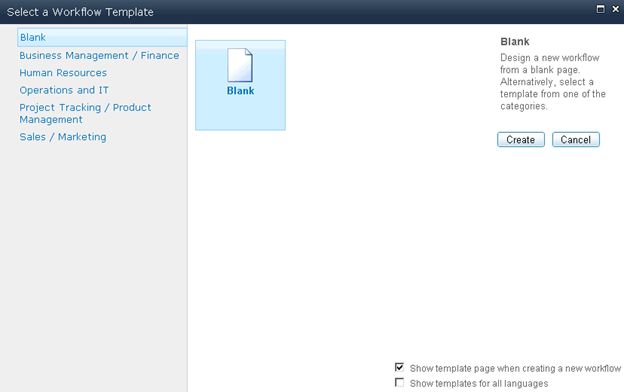
Click on Create a Workflow in Nintex Workflow.

Click on Cancel.

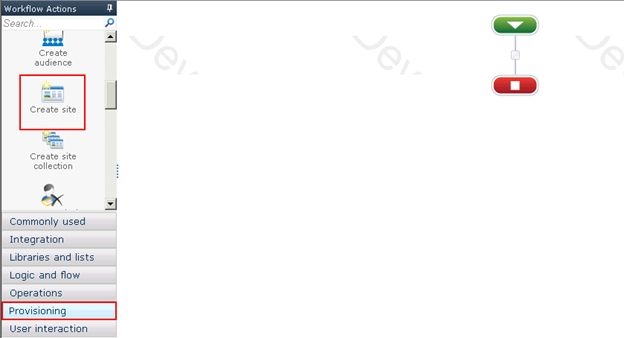
Drag and drop the Create site action from the Provisioning section.

You will be able to see the warning symbol in the workflow action, click on that; you will see the following warning message.


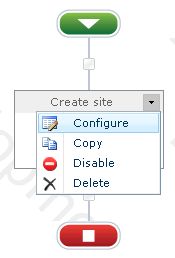
Click on Configure from the drop down list in the Create site action.

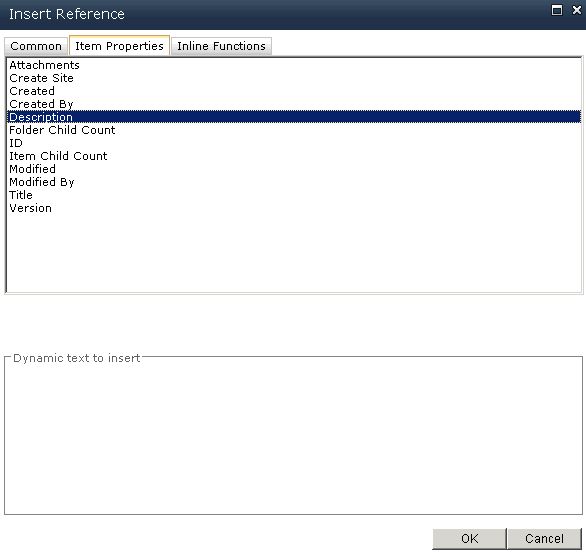
Click on the Insert Reference button for the Title column and then click on Item Properties tab. Select Title and then click on Ok.


Similarly select the Description item property for the Description column.

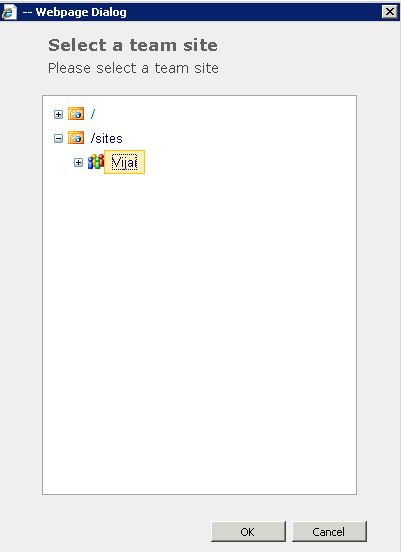
Click on the Select a parent site link to select the parent site where the sites should be created.

In the URL column select the Title item property as mentioned in Step 8.


Select the site template and other options as you require.
Click on Save.
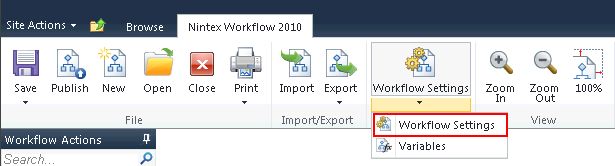
Click on Workflow Settings in the ribbon interface.
Enter the Name and select Yes for Start when items are created.

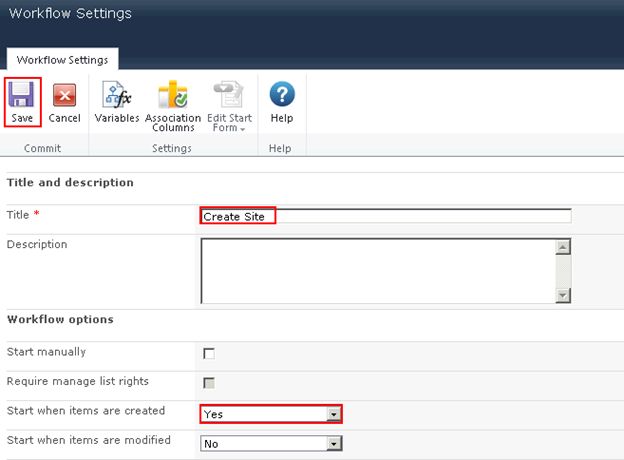
Click on Save.
Publish the workflow
Click on the Publish button in the ribbon interface.

Ensure the Title is set; optionally you can set the values for Description and Change Comments. Click on the Submit button.
The workflow is published successfully.
Test the workflow:
Navigate to the Site Provisioning list.Create a new item.

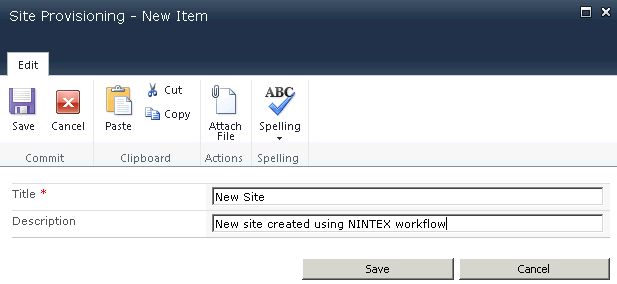
The Create Site workflow will be started once the item is created.After a few minutes the workflow status will be changed to Completed.
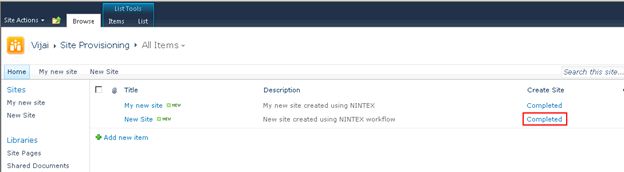
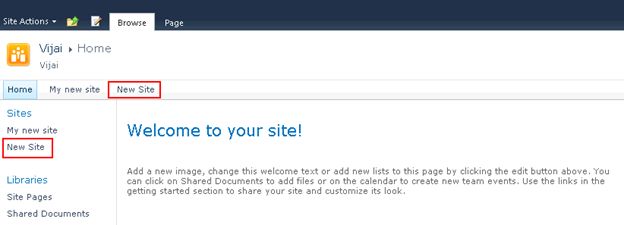
A new site is created successfully.
Summary
Thus in this article you have seen how to create a new site using a NINTEX workflow in SharePoint.


Comments