
How to Convert Word Document to PDF Using NINTEX Workflow in SharePoint
- Vijai Anand Ramalingam

- Mar 4, 2019
- 2 min read
Updated: Mar 18, 2019
Introduction
In this article you will see how to convert a Word document to PDF using a NINTEX workflow in SharePoint. I have a team site in which a "Shared Documents" document library is available. I will show you how to convert the Word document (.docx) to PDF by running the NINTEX workflow for the document.
Prerequisites
Ensure the "Word Automation Service" application is configured in the Central Administration.
Ensure the Word Automation Service is started in the Central Administration.
Workflow Design


A regular expression action is used to get the item URL and replace the .docx to .pdf and store the destination URL in the workflow variable. The convert document action converts the source document to PDF.
Conversion
The following procedure will convert to a PDF workflow:
Navigate to the Shared Documents.
Click on the "Library" tab and then click on "Workflow Settings".
Click on "Create a Workflow in Nintex Workflow".
Click on "Cancel".


Drag and drop the "Regular Expression" action from the "Operations" section.


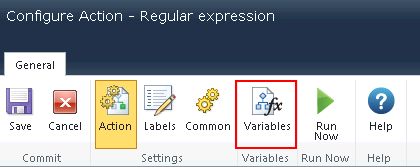
Click on "Configure" from the drop down list in the "Regular Expression" action.
Click on the "Variables" button.
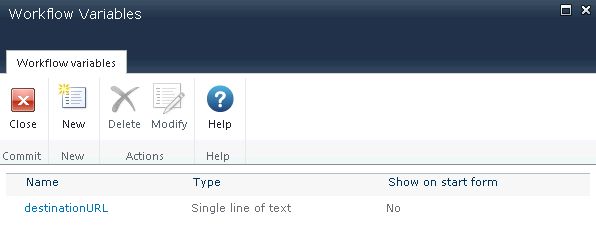
Click on the "New" button.

Enter the variable name as "destinationURL" and select the variable type as "Single line of text".Click on "Save".The variable is created successfully.
In the Regular Expression action we need to replace docx with pdf from the ItemUrl.

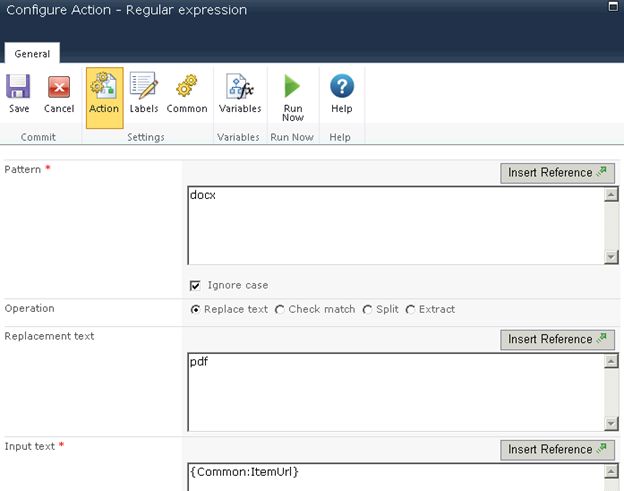
Store the result in the workflow variable "destinationURL" that we created.

Click on "Save".
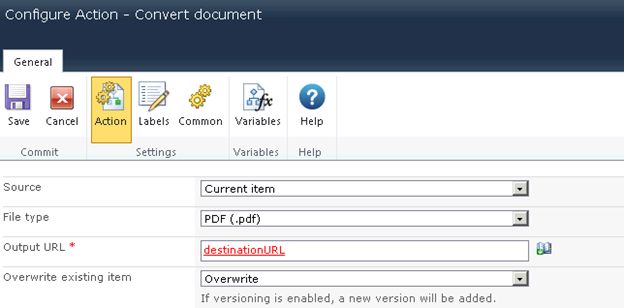
Drag and drop the "Convert" document action from the "Libraries and lists" section.
Click on "Configure" from the drop down list.
Configure the values for the action as shown below

Click on "Save".
Publish the workflow
Click on the "Publish" button in the ribbon interface.

Ensure the Title is set; optionally you can set the values for Description and Change Comments.


Click on the "Submit" button.
The workflow is published successfully.

Test the workflow
Navigate to the Shared Documents.
Select the document and then click on "Workflows" in the ribbon interface.
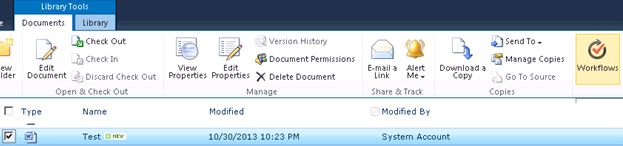
Click on "Convert to PDF workflow" and then click on the "Start" button.

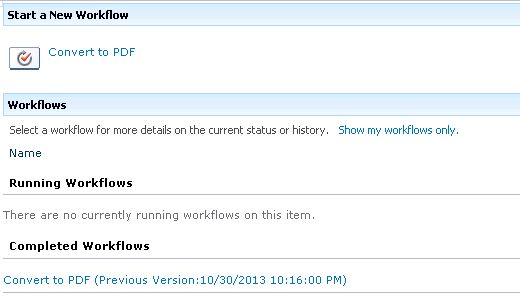
After a few minutes the workflow status will be changed to "Completed".
The converted PDF document is created successfully as shown below.

Summary
Thus in this article you saw how to convert a Word document to PDF using NINTEX workflow in SharePoint.
Related Links
How to Remove User From SharePoint Group Using NINTEX Workflow
How to Check if SharePoint Group Exists Using NINTEX Workflow
How to Create User Defined Action For NINTEX Workflows in SharePoint
How to Remove Group From SharePoint Site Using NINTEX Workflow
How to Set Item Level Permission Using NINTEX Workflow in SharePoint
How to Create Item in Another Site Using NINTEX Workflow in SharePoint
How to Get All the Users From a Specific SharePoint Group Using NINTEX Workflow


Comments