
How to Add User to SharePoint Group Using NINTEX Workflow
- Vijai Anand Ramalingam

- Mar 4, 2019
- 2 min read
In this article you will see how to add a user to a SharePoint group using a NINTEX workflow.
Introduction
In this article you will see how to add a user to a SharePoint group using the NINTEX workflow. We will be adding the user to the SharePoint group by calling the web service _vti_bin/usergroup.asmx. I have created a custom list named "User Provisioning" in which I have the following columns:


The SharePoint Group column is used to specify to which group the user must be added and the User Name column is used to specify the user to be added to the specified group.
Creation
The following explains how to create the site creation workflow:
Navigate to the User Provisioning list.
Click on the List tab and then click on Workflow Settings.
Click on Create a Workflow in Nintex Workflow.

Click on Cancel.


Drag and drop the Call web service action from the Integration section.


You can see the warning symbol in the workflow action, click on that; you will see the following warning message.


Click on "Configure" from the drop down list in the Call web service action.


Click on the Insert Reference button for the URL column and then click on Common tab.
Select Web URL and then click on Ok.


Append /_vti_bin/usergroup.asmx to the URL column.
Enter the User Name and Password to call the web service and then click on the Reference button.
Click on Ok.

All the web service methods will be populated.
Select the AddUserToGroup web method that will be used to add the user to the specified SharePoint group.


The Web Service Input section will be populated for passing the input values to the web method.


Click on the Insert Reference button for the groupName column and then click on the Item Properties tab. Select the SharePoint Group and then click on Ok.


Click on the Insert Reference button for the userName column and then click on the Item Properties tab. Select the User Name and then click on Ok.


Click on Save.


Publish the workflow
Click on the Publish button in the ribbon interface.

Ensure the Title is set; optionally you can set the values for Description and Change Comments.
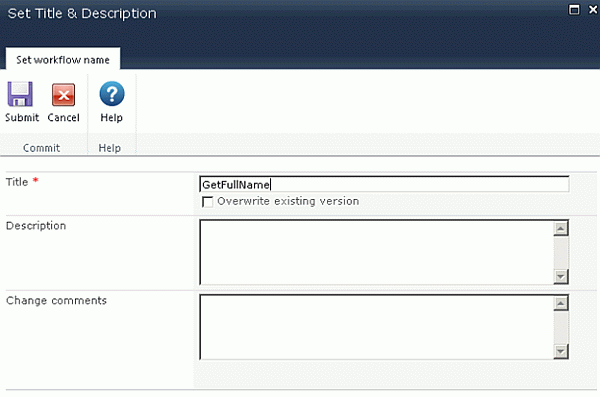
Click on the Submit button.
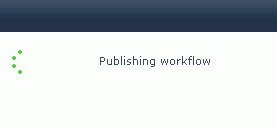
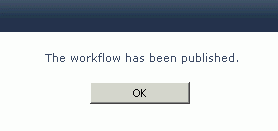
The workflow is published successfully.
Test the workflow
Navigate to the User Provisioning list.Create a new item.


Select the item and then click on Workflows in the ribbon interface.

Click on Add user to group workflow and then click on the Start button.

After a few minutes the workflow status will be changed to Completed.

The user is added successfully to the specified SharePoint group.
Summary
Thus in this article you have seen how to add the user to the specified SharePoint group using the NINTEX workflow.
Related Links:


Comments