Development On PowerApps For Office 365 - Part Two
- Manpreet Singh

- Mar 22, 2019
- 3 min read
Updated: Jan 30, 2020
Welcome to the second article on development aspects of PowerApps on Office 365. This article will be a series of complete development on PowerApps. We will see real-time scenarios and all the examples of what Power App has to offer. Here, we will see how we developers are connecting SharePoint to our PowerApps and using it for various functionalities through the app.
Development On PowerApps For Office 365 - Part One
Why PowerApps?
Organizations can’t allow the free sourcing of apps. They need to store some data with secured access, and who can provide better security than Microsoft?
You need to have Microsoft PowerApps for allowing users to access the apps. So, you not only save money on the app hosting but also, you host that on one of the world’s best platforms.
When it comes to development, it is the right tool to use, for a quicker and smarter app development process.
Let’s see what the app has
Go to Power Apps
Use this link to sign in with your organization’s Office 365 ID or with your Windows' ID.
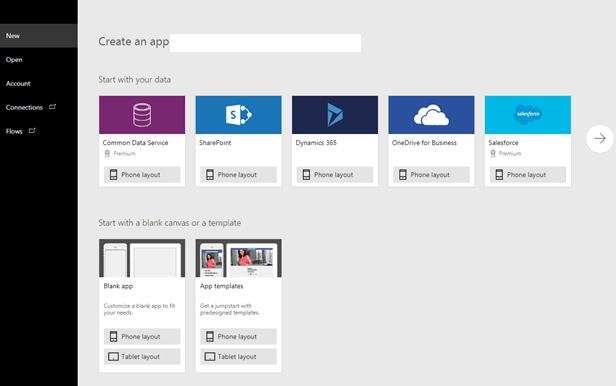
Once you log in, you will arrive at this portal.
Sign In and you will arrive on the portal.
Click on the Apps section.
You can connect your app with various everyday social or custom apps and use them in your process of development of your own PowerApps.
You can connect to existing data sources and services like Excel files, SharePoint lists, CRM records, your custom APIs, your Dropbox, or any such, to collaborate with your app. The best part is that you use a designer to customize or build an app that uses device capabilities, including cameras, GPS, and pen control, without writing any code.
Click on Blank App (Tablet layout), you will come to the screen below
The app is divided into tabs on the top navigation - screens through the left navigation and the properties on the right navigation.
Development of App – View tab on PowerApps
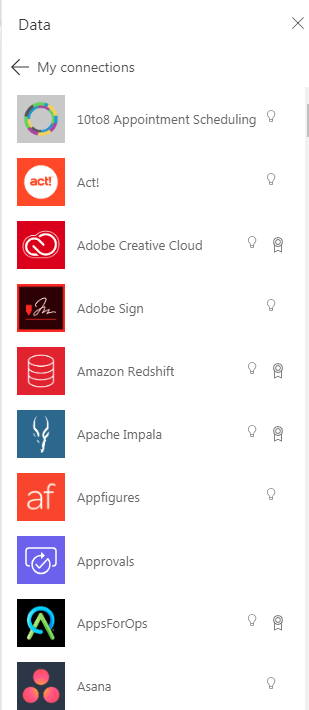
Data sources
Data sources will help you to connect your app with various products now associated with PowerApps from SharePoint, SQL, Oracle and many more.
These data resources will help you to transfer data through the PowerApps. You can edit/create new data on that platform with the front-end as PowerApps.
Data Sources will also help you to pull your default forms or views from the platforms of your connections. This will be like a package to your app and will save you effort for form or data entry app building.
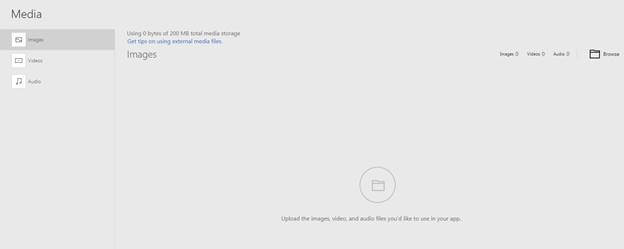
Media
Here under the media section, you can upload the media like images, videos and audio and attach it to their PowerApps as per your requirement.
Collections
A collection acts as a data source with the format of a table. Here, you can create and set collections by using the ClearCollect function.
Kindly find the reference below to read more about the function here.
Variable
Here you can create local and global variables which can be used by PowerApps to store data and call them on various part of the process.
Kindly find the reference below to read more about the function here.
Advanced - Screen
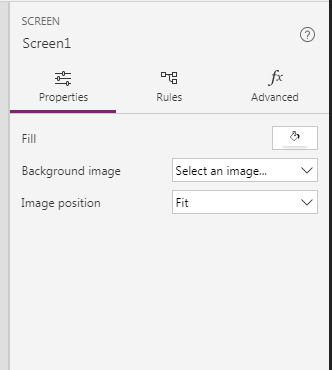
The advanced section is nothing but the screen’s properties which are categorized under the following,
OnVisible – What will happen when visible
OnHidden - What will happen when hidden
OnStart - What will happen when start
Background Image
Design
a. Fill
b. Image Position
c. Loading Spinner
d. Loading Spinner Color
Then comes the properties where you can configure,
Fill – Apply color on the app
Background image – Add an image on the background of the app
Image position – Set your background image
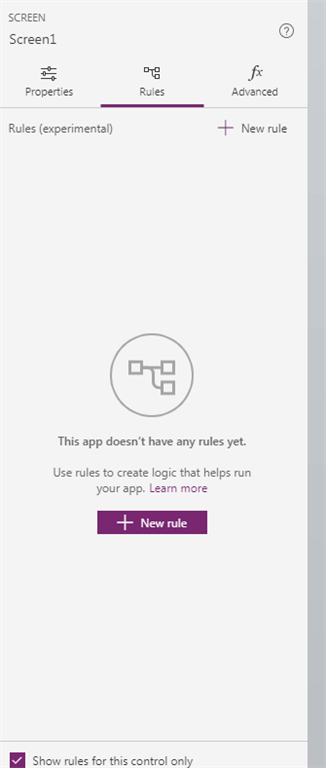
Add rules to your screen.
You can add conditions and define actions on what happens when a rule is implied on the app.
We will see these in real-time scenarios. Here, we saw all the available controls on our PowerApps which will be used for developing an app. Keep following this series of articles to learn PowerApps Development.
Keep reading & keep learning!









Comments