Development Of SPFx WebParts On SharePoint Office 365
- Manpreet Singh

- Mar 22, 2019
- 2 min read
Welcome to an article on how to develop SPFx webparts on SharePoint Office 365.
What is SPFx?
SharePoint Framework (SPFx) Extensions are client-side components that run inside the context of a SharePoint page. You can deploy extensions to SharePoint Online, and you can use modern JavaScript, ReactJS tools, and libraries to build them.
It not only allows you to put in your code but also allows you a platform to test your code, also called “Workbench”.
This is the future as nowadays our clients don’t expect us to write a full-fledged Visual Studio deployment code. They want small packages which can be developed faster and efficiently.
Let’s see how we can build one of our own SPFx webpart. Follow the steps below and learn while you do it yourself.
Open your command prompt and create a new project as shown in the screen below.
Then, direct yourself to the project directory you just created above.
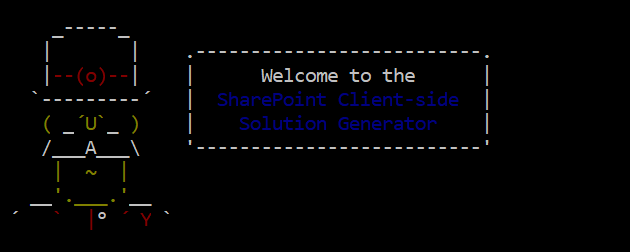
Now, run the command “yo @microsoft/sharepoint” to create a new web part using yeoman SharePoint Generator; press Enter to run.
It will take some time and the generator will be all set to get configured and create a webpart.
You will be asked the following questions as part of the configuration
Let's create a new SharePoint solution.
What is your solution name? learning webpart
Which baseline packages do you want to target for your component(s)? SharePoint Online only (latest)
Where do you want to place the files? Use the current folder
Do you want to allow the tenant admin the choice of being able to deploy the solution to all sites immediately without running any feature deployment or adding apps in sites? No
Which type of client-side component to create? WebPart
What is your Web part name? learning webpart
What is your Web part description? let's learn
Which framework would you like to use? React
Once you answer the questions above, the generator will initiate the webpart development and will take a certain amount of time to create it.
After some minutes, you will see the message shown above that the webpart is created. Now, we need to test our webpart on our workbench.
On the same command prompt window, run the following command, “gulp trust-dev-cert”.
This command will add a trust certificate to your deployment.
Once the execution is over, let us play with the webpart. Type in “gulp serve” on the same command prompt.
Once you run the command, it will open a SharePoint Workbench using your default browser as below
Click on the + icon to add your webpart.
Click on learning webpart and your webpart will display as the screen below.
You can see your webpart's back-end code under the Edit part of the webpart. We will see more articles ahead on various code development on the SPFx webparts.
Once you save, you will see your webpart all set on your workbench.
Keep following this series of articles; we will be developing various solutions on our SPFx webparts. Until then, keep reading and keep learning.


Comments