
DEPLOYING WORDPRESS AND MYSQL ON AWS WITH CUSTOM VPC USING TERRAFORM
- The Tech Platform

- Jan 26, 2021
- 3 min read

What is Amazon VPC?
Amazon Virtual Private Cloud is a commercial cloud computing service that provides users a virtual private cloud, by “provisioning a logically isolated section of Amazon Web Services Cloud”.
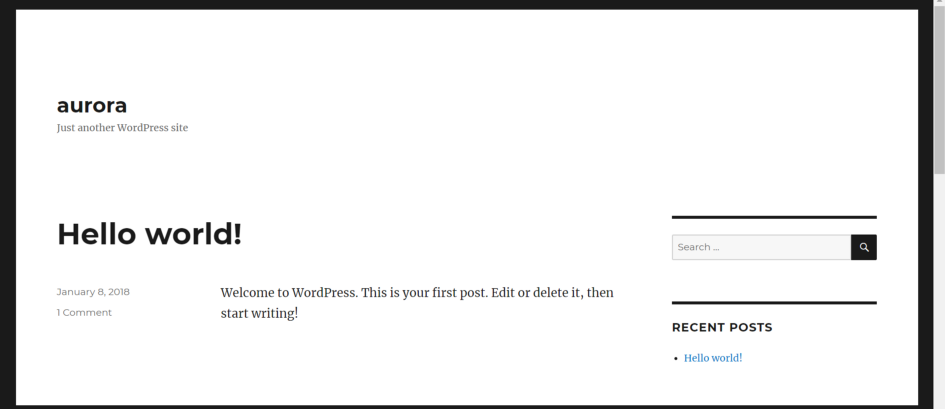
Wordpress
WordPress is a free and open-source content management system written in PHP and paired with a MySQL or MariaDB database.
Pre-requisites:-
AWS account
AWS CLI installed and configured
Terraform installed and added to path
VSCode with HashiCorp Terraform and Terraform Autocomplete plugins installed
Process:-
1. First we need to create the provider. Our provider is AWS therefore, we select AWS with other relevant information like the credentials.
provider "aws" {
region                  = "ap-south-1"
shared_credentials_file = "C:/Users/KIIT/.aws/credentials"
profile                 = "chirag"
}
2. Next we shall create the key pairs which shall be used to remotely login to the instances.
resource "tls_private_key" "keypair" {
algorithm   = "RSA"
}
resource "local_file" "privatekey" {
content     = tls_private_key.keypair.private_key_pem
filename = "key1.pem"
}
resource "aws_key_pair" "deployer" {
key_name   = "key1.pem"
public_key = tls_private_key.keypair.public_key_openssh
}
3. We shall now start with the VPC creation. The VPC will have many parts namely subnets, ip-routing tables for each subnet, internet gateway for the public subnet etc.
resource "aws_vpc" "main" {
cidr_block       = "192.168.0.0/16"
instance_tenancy = "default"
tags = {
Name = "myvpc"
}
}
4. A subnet is like a sub-network within an even bigger network(VPC). In this case we shall create 2 subnets under the VPC we just created. One will be a public subnet while the other one is going to be a private one. We shall create the Wordpress instance in the public instance as it requires internet connectivity. Since MySQL doesn’t need an outside connection, it will be launched in private subnet. It only needs to have connection with the wordpress instance.
5. We shall create the following Routes and Routing tables(A routing table is a data table stored in a router or a network host that lists the routes to particular network destinations, and in some cases, metrics associated with those routes.).
resource "aws_route_table" "routetable1" {
vpc_id    = aws_vpc.main.id
}
resource "aws_route" "route1" {
route_table_id         = aws_route_table.routetable1.id
destination_cidr_block = "0.0.0.0/0"
gateway_id = aws_internet_gateway.intgw.id
}
resource "aws_route_table_association" "routetableassoc1" {
subnet_id      = aws_subnet.subnet1.id
route_table_id = aws_route_table.routetable1.id
}
resource "aws_route_table" "routetable2" {
vpc_id    = aws_vpc.main.id
}
resource "aws_route" "route2" {
route_table_id         = aws_route_table.routetable2.id
destination_cidr_block = "0.0.0.0/0"
instance_id= aws_instance.wordpress.id
}
resource "aws_route_table_association" "routetableassoc2" {
subnet_id      = aws_subnet.subnet2.id
route_table_id = aws_route_table.routetable2.id
}
6. For the public subnet to have internet connectivity it needs an internet gateway to be attached with the routing table for the respective subnet.
resource "aws_internet_gateway" "intgw" {
vpc_id = aws_vpc.main.id
tags = {
Name = "main"
}
}
7. Security Groups are very important as they filter out any undesirable traffic to the instances. For both the instances we shall create 1 security group each that will prevent any undesirable connection to and from the instances.
resource "aws_security_group" "secure1" {
name          = "secure1"
vpc_id        = aws_vpc.main.id
description   = "Allow TLS inbound traffic"
ingress {
description = "SSH"
from_port   = 22
to_port     = 22
protocol    = "tcp"
cidr_blocks = ["0.0.0.0/0"]
}
ingress {
description = "HTTP"
from_port   = 80
to_port     = 80
protocol    = "tcp"
cidr_blocks = ["0.0.0.0/0"]
}
ingress {
description = "WORDPRESS"
from_port   = 443
to_port     = 443
protocol    = "tcp"
cidr_blocks = ["0.0.0.0/0"]
}
egress {
from_port   = 0
to_port     = 0
protocol    = "-1"
cidr_blocks = ["0.0.0.0/0"]
}
tags = {
Name = "subnet1sg"}
}
resource "aws_security_group" "secure2" {
name          = "secure2"
vpc_id        = aws_vpc.main.id
description   = "Allow TLS inbound traffic"
ingress {
description = "SSH"
from_port   = 22
to_port     = 22
protocol    = "tcp"
cidr_blocks = [aws_subnet.subnet1.cidr_block]
}
ingress {
description = "MYSQL"
from_port   = 3306
to_port     = 3306
protocol    = "tcp"
cidr_blocks = [aws_subnet.subnet1.cidr_block]
}
egress {
from_port   = 0
to_port     = 0
protocol    = "-1"
cidr_blocks = ["0.0.0.0/0"]
}
tags = {Name = "subnet2sg"
}
}
8. Now that all the components of the VPC are created we shall create the instances.
resource "aws_instance" "wordpress" {
ami = "ami-7e257211"
instance_type = "t2.micro"
subnet_id = aws_subnet.subnet1.id
key_name = aws_key_pair.deployer.key_name
security_groups = [aws_security_group.secure1.id]
vpc_security_group_ids = [aws_security_group.secure1.id]
associate_public_ip_address = true
depends_on = [aws_internet_gateway.intgw]
tags = {Name = "Wordpress"
}
}
resource "aws_instance" "mysql" {
ami = "ami-0979674e4a8c6ea0c"
instance_type = "t2.micro"
subnet_id = aws_subnet.subnet2.id
key_name = aws_key_pair.deployer.key_name
security_groups = [aws_security_group.secure2.id]
vpc_security_group_ids = [aws_security_group.secure2.id]
associate_public_ip_address = false
tags = {
Name = "Mysql"
}
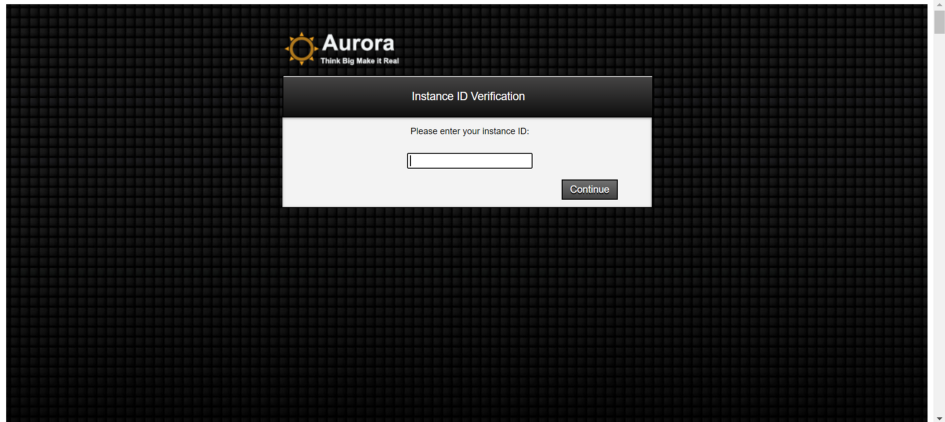
}9. We shall create a separate file output.tf that will display some of the important info like instance IDs, IPs etc. This file will also launch the website on chrome.
output.tf
resource "null_resource" "publicip"  {
provisioner "local-exec" {
command = "echo  ${aws_instance.wordpress.public_ip} > publicip.txt"
}
}
resource "null_resource" "privateip"  {
provisioner "local-exec" {
command = "echo  ${
aws_instance.mysql.private_ip} > privateip.txt"
}
}
resource "null_resource" "nulllocal1"  {
provisioner "local-exec" {
command = "start chrome  ${aws_instance.wordpress.public_ip}"}
depends_on = [aws_instance.wordpress]
}
output "wordpressid"{
value=aws_instance.wordpress.id
}
output "mysqlid"{
value=aws_instance.mysql.id
}
10. Use the following code in terminal to launch the setup.
terraform init
terraform apply -auto-approve
Terraform init will install the required plugins and it is a compulsory command when executing terraform for 1st time in the folder.


source: medium


Comments