
Creating Provider-Hosted App in Office 365 and Azure Using VS 2013: Part 2
- Vijai Anand Ramalingam

- Mar 7, 2019
- 2 min read
Updated: Mar 18, 2019
In my previous article Creating Provider-Hosted App in Office 365 and Azure Using VS 2013: Part 1 you saw how to perform the following procedure:
Sign up for an Office 365 Developer Site.
Sign up for an Azure trial subscription.
Set up an App Catalog in Office 365.
Create a Provider-Hosted App using Visual Studio 2013.
In this article you will perform the following procedure:
Publish the web to Microsoft Azure Websites.
Register the App in Office 365.
Configure the app settings for Azure Website.
Publish the web to Microsoft Azure Websites
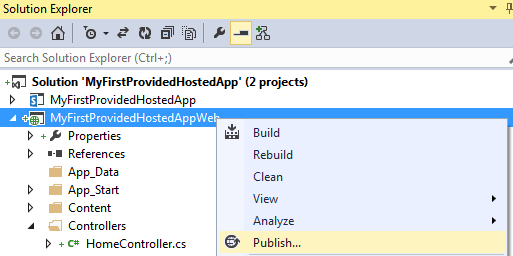
In the Solution Explorer, right-click on MyFirstProvidedHostedApp and then click on Publish.

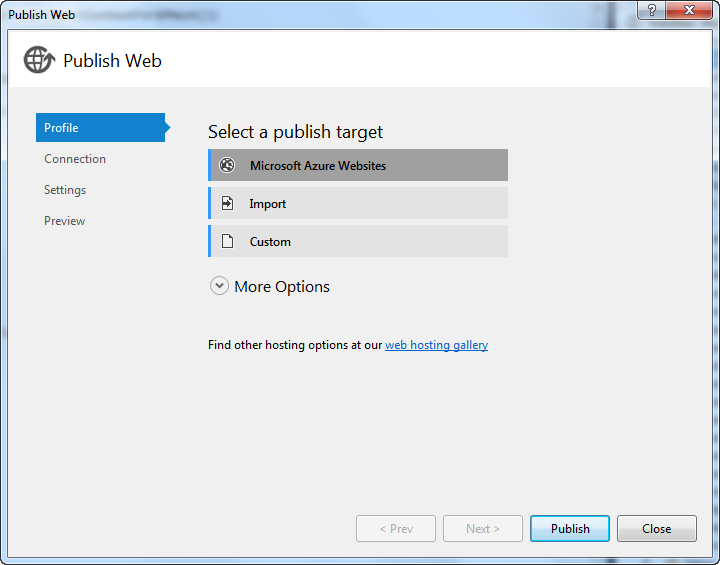
Select the publish target as Microsoft Azure Websites.

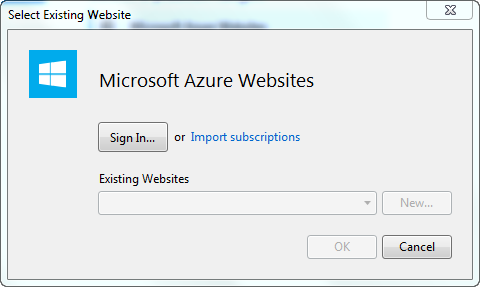
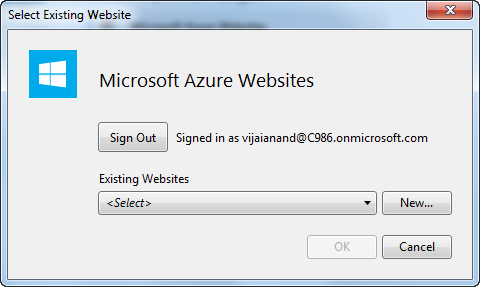
In the Select Existing Website wizard, click on the Sign In button.

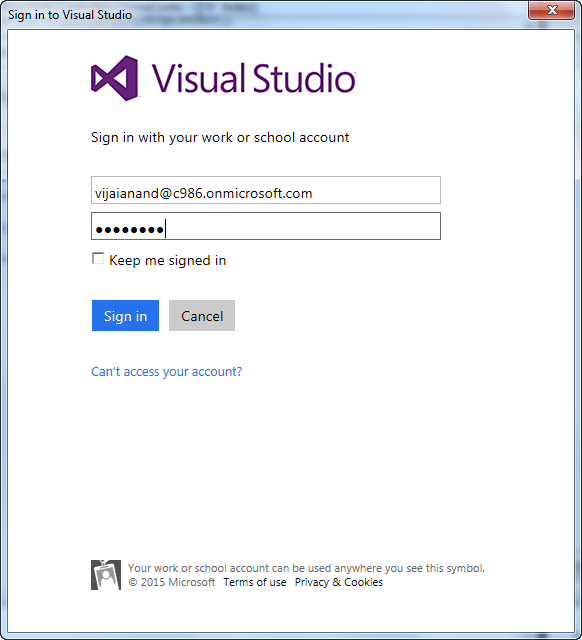
Enter the email address of the Azure account.


Click on the Continue button.
Enter the Azure credentials and then click on the Sign in button.

Once you have signed in, click on the New button to create a new website in Azure.

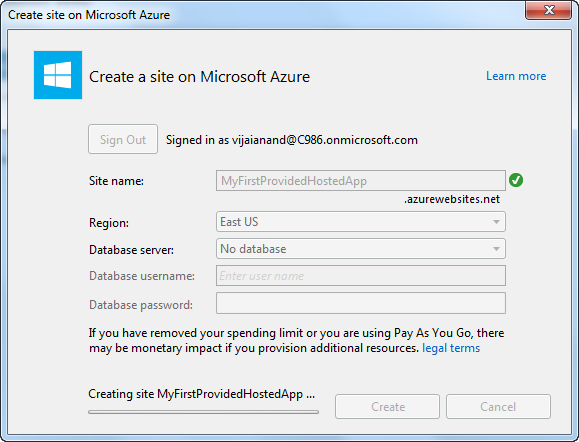
Enter the Site Name, select the Region and then click on the Create button.

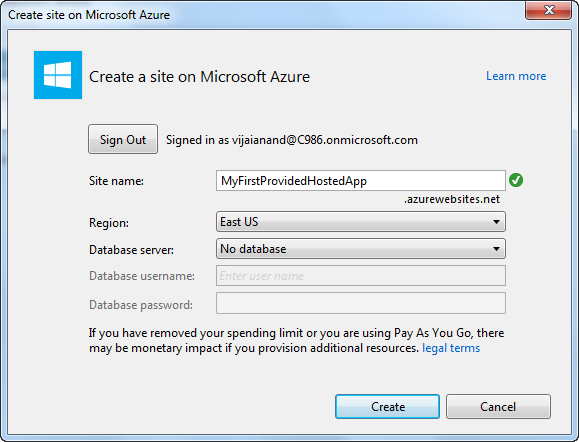
Create a new website in Azure.

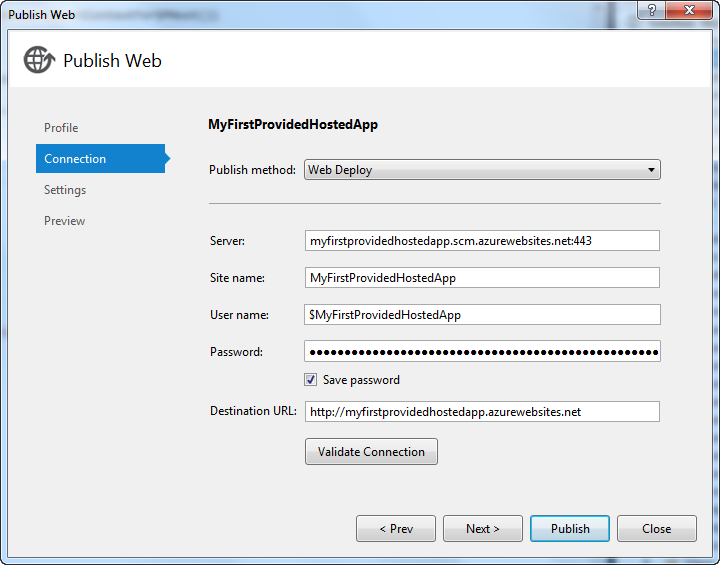
In the Publish web wizard, click on the Publish button.

The site is opened in a new tab and you will be getting an error message as shown below. This is because we have not yet configured the app settings, that will be done in a later section. Save the site URL (http://myfirstprovidedhostedapp.azurewebsites.net/) separately for later use that will be used when configuring the app.


Register the app in Office 365
Log into the O365 developer site as an administrator (Example: https://c986.sharepoint.com/).
From the developer site, navigate to /_layouts/15/appregnew.aspx (Example: https://c986.sharepoint.com/_layouts/15/appregnew.aspx).
Click Generate next to the Client ID.
Click Generate next to the Client Secret.
Enter First Provider Hosted App as the Title.
Enter the App Domain for the Azure web site you created earlier (for example: myfirstprovidedhostedapp.azurewebsites.net).
Enter the Redirect URI as the reference for the page (for example: https://myfirstprovidedhostedapp.azurewebsites.net/). Make sure you add the reference URL with the https protocl.
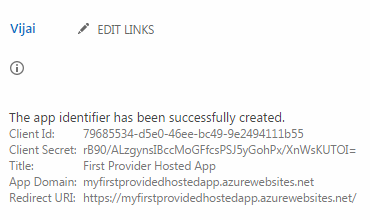
Click on the Create button.


The App identifier is created successfully as shown below. Save the Client ID and Client Secret separately for later use.
Configure the app settings for Azure Website
Log into the Windows Azure portal as an administrator.
Click on Websites in the left navigation. You could be able to see the website that we have deployed previously.


Click on the website.
Click on the Configure tab.


Go to the app settings section and create the following entries. (Copy the Client Id and Client Secret that we have generated in Office 365 previously).


Save the changes.
In the next article you will see how to publish the app and add the app to the Office 365 developer site.


Comments