Auto-generate thumbnails using an Azure Function and Azure Blob Storage
- The Tech Platform

- Sep 20, 2020
- 2 min read
Now that you can use the Azure Blob Storage connector inside of your canvas PowerApp, you can leverage the advanced capabilities of Azure functions inside of your Azure blob storage. A common requirement is to shrink the size of an image after it is uploaded so it can be used in reports or returned to the app in a smaller size to reduce the bandwidth needed.
Create an Azure Function
To create an Azure function that will automatically resize images uploaded to your blob container do the following:
Go to https://portal.azure.com
Click on Create a resource
Search for Function App
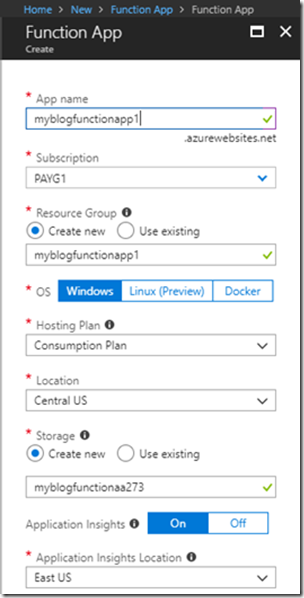
Create the Function App
Fill in the details about your new Function app
App name (needs to be lower case)
Let it create a new Storage item for you
Once your function app is created, we need to add a function to it
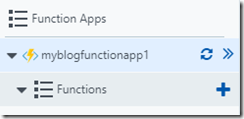
In the function area, click on the + icon
Click on Custom function, it is in small font on the bottom of the screen
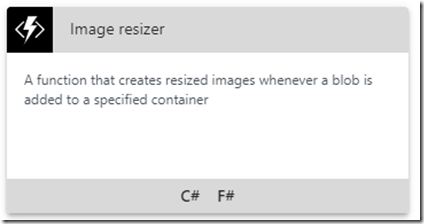
Then search for Image resizer
This will create everything you need for an automated image resizer function
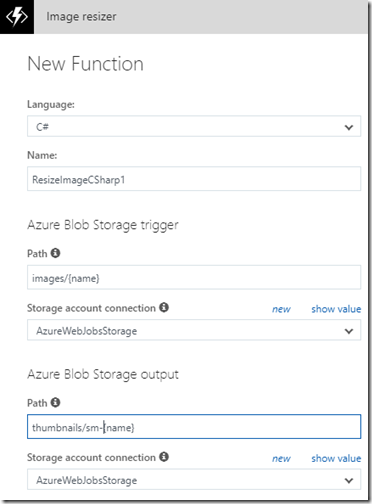
You can give your function a name
Change the store account connections for each section to AzureWebJobsStorage
Set the path for the trigger to images/
Set the output to thumbnails/sm-{name} for the first output and thumbnails/md-{name} for the second output
The built-in template triggers anytime a file is uploaded to the images container. It will then create two images a small thumbnail and a medium thumbnail and put both images in the thumbnails container. The name of the thumbnail will be the name of the file uploaded with sm- or med- in front of it.
The file sizes can be changed by clicking on the function name and changing the size code. By default, the small file will be 640 x 400 and the medium file will be 800 x 600.
The last update will be to create your two containers for your images (images and thumbnails). You can use the Microsoft Azure Storage Explorer (https://azure.microsoft.com/en-us/features/storage-explorer/ ) to create your contains in the new storage account that you created (myblogfunctionaa273 in this example).
This is one example of how you can use Azure functions in the background of your app, let us know how else you are using them with PowerApps and if you have any questions.
Source: Microsoft


Comments