
Add Certificate to the SharePoint Trusted Root Certificate Authority
- Vijai Anand Ramalingam

- Apr 2, 2019
- 1 min read
In this article we will be seeing how to export the certificate and import into SharePoint Trusted Root Certificate Authority.
Export the Security Certificate:
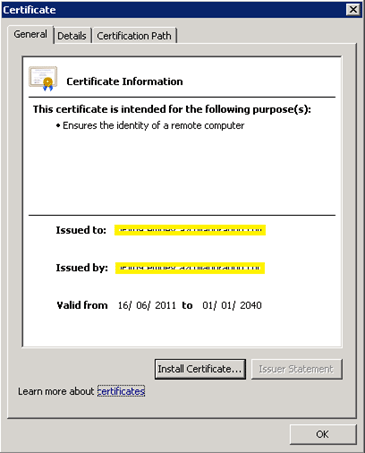
Access SharePoint https site in the browser.
Click on the lock sign.
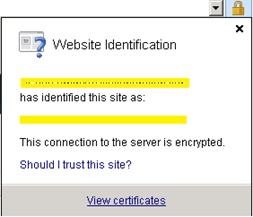
Click on View Certificates link.
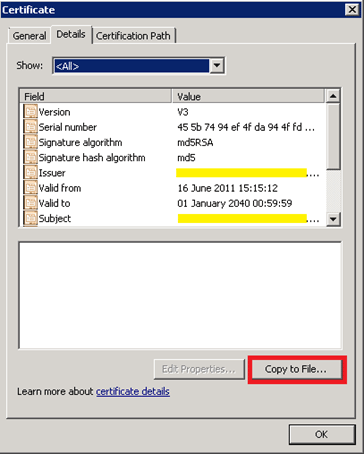
Click on the Details tab and then click on Copy to File....
Certificate Export wizard will pop up as shown in the following
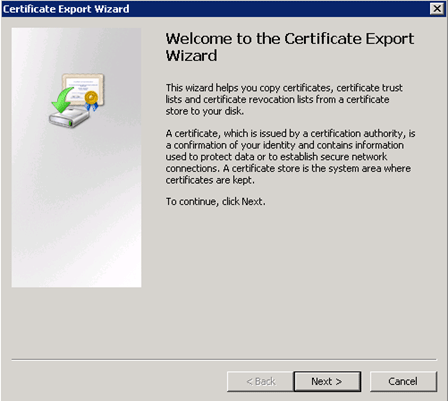
Click on Next.
In the Export File Format select DER encoded binary X.509 (.CER) format.
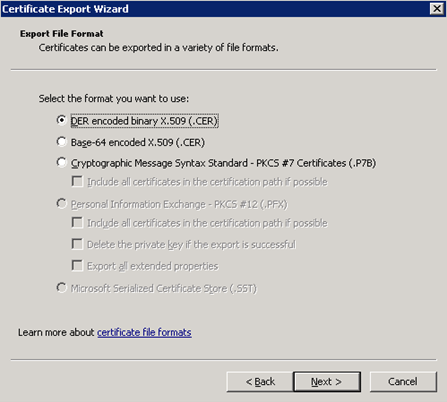
Click on Next.
In the File to Export click on browse, select the location and enter the Name.
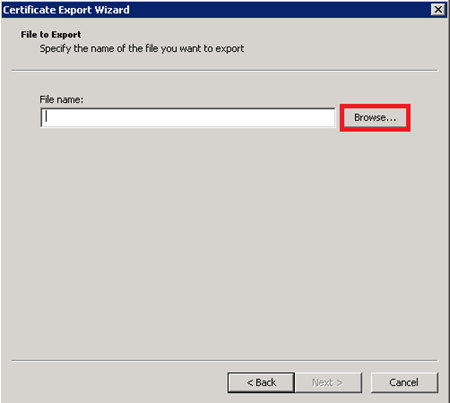
Click on Save, the certificate will be saved.
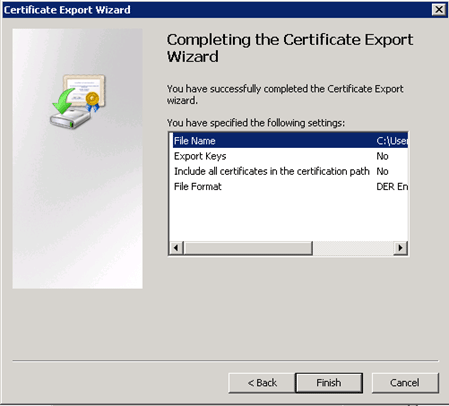
In the Certificate Export Wizard, click on Finish.
You will be getting the following pop up, click on Ok.
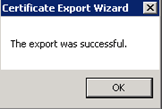
The certificate is exported successfully.

Import the Security Certificate into SharePoint Trusted Root Certificate authority:
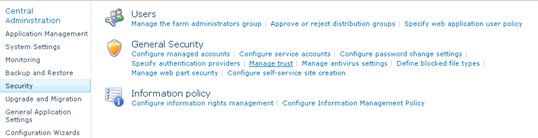
Go to Central Administration =>Security =>Manage Trust.
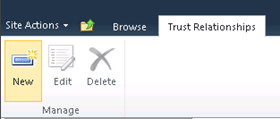
In the ribbon interface, go to Trust Relationships Tab =>Manage group =>Click on New button.
In the Root Certificate to trust relationship section, click on Browse.
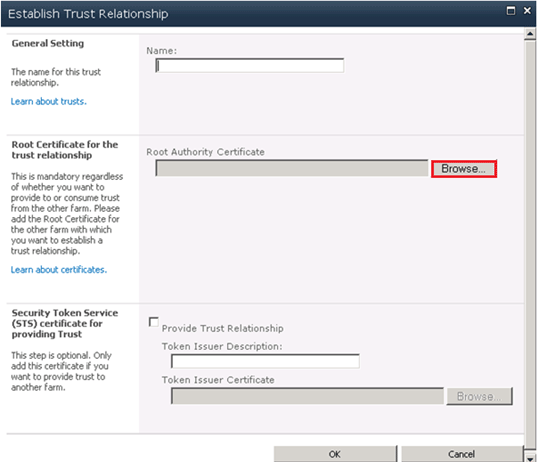
Select the certificate that we have exported.
Click on Ok.
Certificate is imported to the SharePoint Trusted root Authority.


Comments