Action: For Each In Nintex Workflows Through SharePoint 2013 And Office 365
- Manpreet Singh

- May 8, 2019
- 2 min read
Welcome to an article about an action For Each in Nintex Workflows through SharePoint 2013 and Office 365. This article will display the action “For Each” and how to configure it.
While we update something through our workflows, we have some requirement that we need to update this for each item or for each item which fulfils this criteria. In those cases we need to use this action.
Let’s see how we’ll do it.
Create a list, Dev Testing.
Click on the LIST tab on the Top ribbon and click on Nintex Workflows.
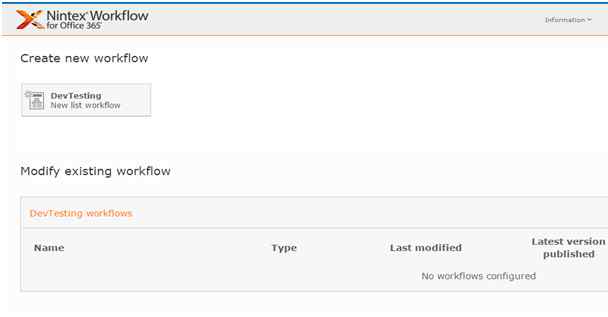
You will see the following screen, to create a new workflow.
Click on “Create new workflow”.
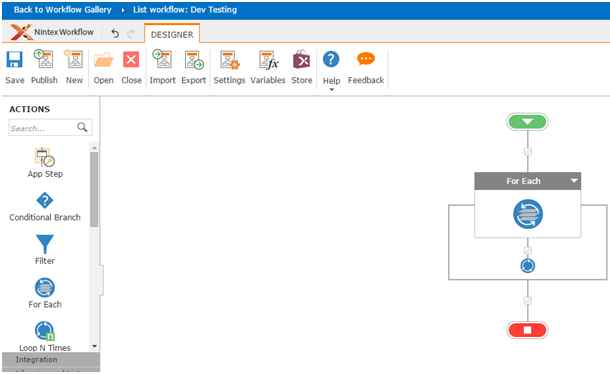
You will come to the design phase of the Nintex workflows.
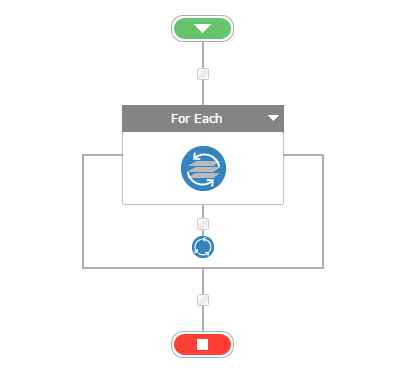
Add the action, “For Each” either by right clicks on the workflow or by dragging and dropping from the left toolbox.
Let’s see it closely.
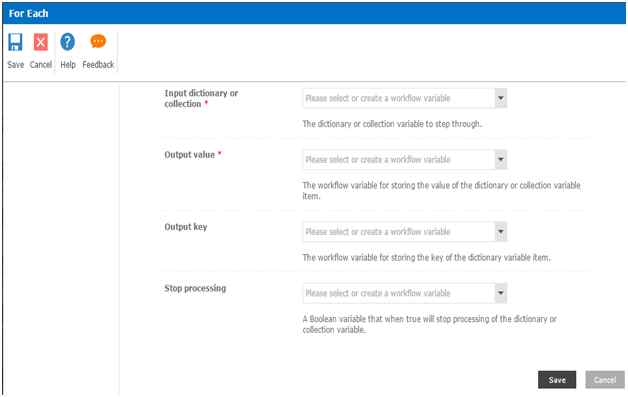
When you double click on the action, you will see the following screen.
Configuration
Input dictionary or collection: Here you have to store a variable which will have collection of items stored to loop each of the items.
Output Value: Here you will have a variable which will execute every single value from the collection.
Output Key: Here you can store the key of the collection items in a variable.
Stop processing: Here you can assign a variable which when true will stop the processing.
Once done with the configuration, you will be able to loop each item and you can perform your actions according to your requirement.
This each item value can be used for various actions. So in this article we saw about the Action: For Each in Nintex Workflows. We’ll see more in my other articles. Till then, Keep learning!


Comments