Enable Or Disable Fields Using Rule In Nintex Forms On SharePoint 2013 & Office 365
- Manpreet Singh

- Apr 30, 2019
- 2 min read
Welcome to an article on “Enable or Disable Fields using rule in Nintex Forms on SharePoint 2013 & Office 365.” This article will be used for every simple form you build on Nintex in SharePoint so I would like to walk you through this functionality on Nintex.
Sometimes we need to enable or disable fields based on a Yes/No field or a check box. In this article we will see the same functionality using rules. Let’s see how.
On your list or library ribbon, click on Nintex Forms.
You will reach the Nintex Designer View as per the screen below.
In our case, I have created a Enable/Disable, a yes/no column check box with the default title field and on the selection of the check box will try to enable the title field which will be disabled by default.
So, let’s add a rule.
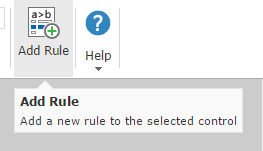
On your right corner of the designer you will find a button Add Rule.
Click on it.
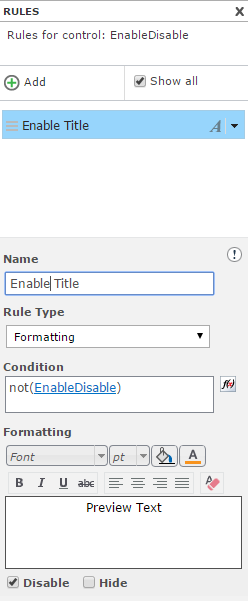
The below Rules bar will open.
On the bar, click on Add and configure your rule,
a. Name :- Provide a name to the rule. b. Rule Type:- As for our case it will be ‘Formatting’. c. Condition:- Our condition will be not(EnableDisable) which means if my field is not checked in, it should be a valid rule. d. We have checked in the ‘Disable’ check box so our field will be disabled unless the condition is valid.
Let’s publish the form now after making the changes.
Once you click on Publish, click on Create New Item.
The screen below of the new form opens with the field disabled by default.
Now when you will check the Enable/Disable field check box.
The rule will apply and our Title field will become enabled.
And it will apply vice versa when you check out.
Here you saw in this article how to enable or disable fields based on yes /no check box. Keep reading articles and keep learning.
Read more articles on SharePoint:


Comments