Creating Azure Runbook Jobs For SharePoint Online Using PnP PowerShell
- Nakkeeran Natarajan

- Mar 30, 2019
- 2 min read
Introduction
In this article, you will learn how to create an Azure Runbook job on Azure automation for SharePoint online portal, using PnP PowerShell cmdlets.
Steps involved
1. Create an automation account.
2. Import PnP PowerShell references as a module.
3. Add credentials.
4. Create Runbook
5. Add the code.
6. Test/Schedule.
7. View the job results.
In this article, I am not explaining more about the creation of an automation account and adding the credentials. I already explained about that in my previous articles.
Importing PnP PowerShell Module
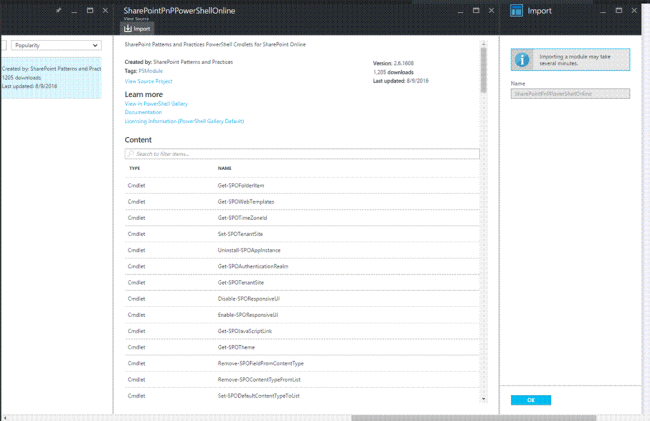
From the automation account, click Assets -> Click Modules -> Click Browse gallery from the modules section -> Find for "SharePoint PnP PowerShell Online".
Click the result. Click Import and click OK on the next pane.
Once imported, you can see the imported module under the modules section.
Add SPO Credentials
For automation of the scripts, SharePoint online portal credentials needs to be stored on Azure portal. You can save the credentials in the credentials section under the assets component.
Create Runbook
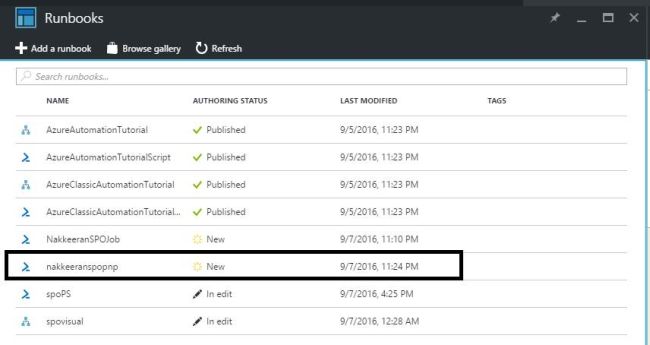
Create a new Runbook or you can use the Runbook, if it's already available.
Add Automation Script
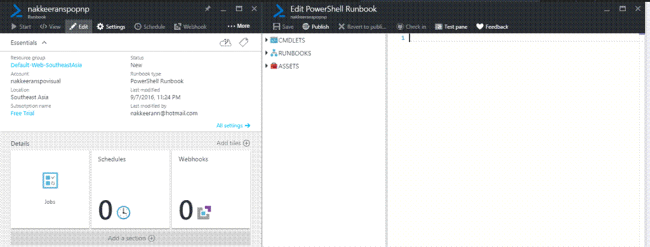
Click the created or existing Runbook. Afterwards, click edit button on the Runbook.
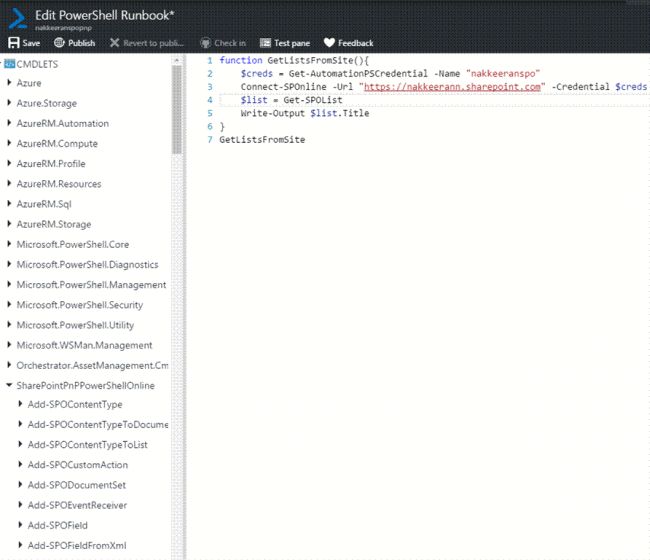
You can access or refer to the PnP cmdlet added to the Runbook, by expanding the cmdlets section and clicking on "SharePointPnPPowerShellOnline" cmdlet.
In this example, we will see, how we can get all the lists available under the particular site collection. The code snippet, given below, shows retrieving the lists and displaying the title of the lists available.
function GetListsFromSite(){
$creds = Get-AutomationPSCredential -Name "nakkeeranspo"
Connect-SPOnline -Url "https://nakkeerann.sharepoint.com" -Credential $creds
$list = Get-SPOList
Write-Output $list.Title
}
GetListsFromSite
You can add the code to the script editor and save it. The snapshot, given below, shows the Runbook with the script added to the script editor.
Test the runbook
Save the script and click the test pane.
Click Start -> Test pane. The task will be queued and then the job will run after few seconds. The snapshot, given below, shows the results of the running test pane. It displays the lists available on the site.
Scheduling the Job
From the edit section of Runbook, publish the Runbook.
From the Runbook, click Schedules -> click "add a schedule" -> Link a schedule -> Create a new schedule -> Provide the details.
You will see the listed schedules.
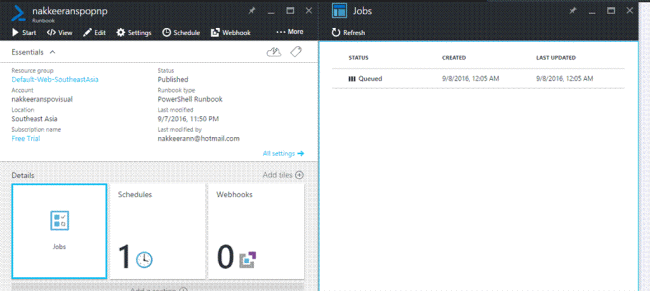
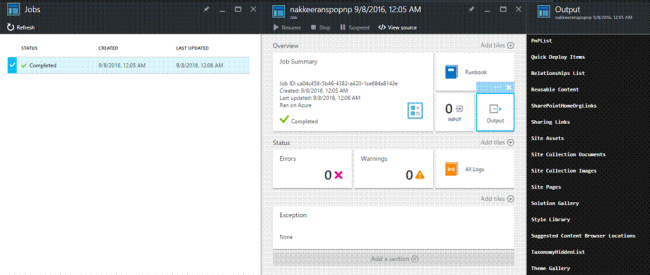
Wait until the job runs. After the scheduled run time, click the jobs to see the results. Once the job is created during the run time, Job Status will change from the queued to running and then to completed.
Once the job completes, click the completed job and then click on the output tile to view the results.
Summary
Thus, you have learned, how to run PnP PowerShell scripts on Azure Runbook as the jobs for automation. For a basic understanding, we have seen, how the lists can be retrieved from the portal once. The complex scripts can be inserted and monitored, based on the requirements.








Comments