Add New Users At The SharePoint Admin Center In Office 365
- Manpreet Singh

- Apr 13, 2019
- 2 min read
Welcome to an article on how to add users at the SharePoint Admin Center in Office 365. Here, in this article, we will see how we add new users to the Admin Center in Office 365.
To configure, you need to be a tenant admin. If you are, let’s see how we can do it.
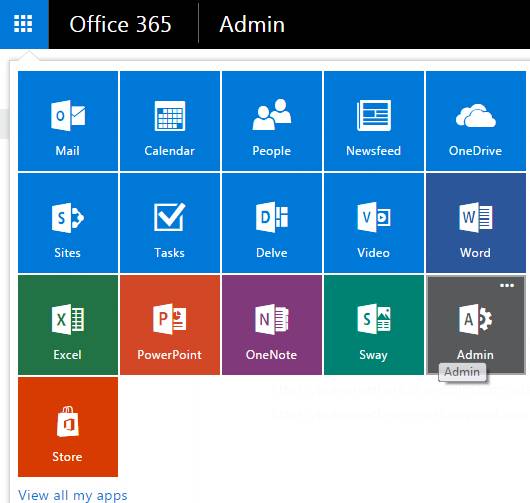
A. Click on the left corner of your SharePoint site to view the apps.
B. Click on Admin.
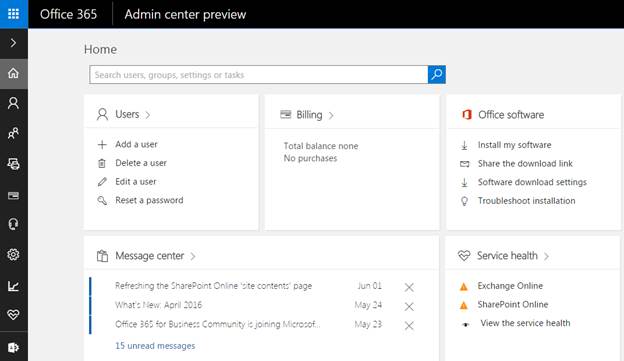
C. You will come to the “SharePoint admin center”.
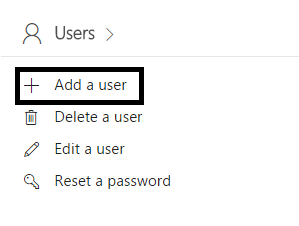
D. Under Users section, click ‘Add a user’, as shown in the screen below:
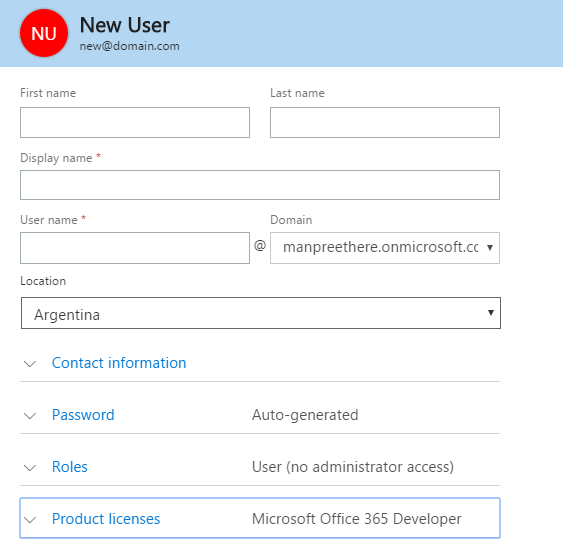
E. Fill the details as shown below on the screen to create a new user.
1. First Name
2. Last Name
3. Display Name
4. Username
5. Location
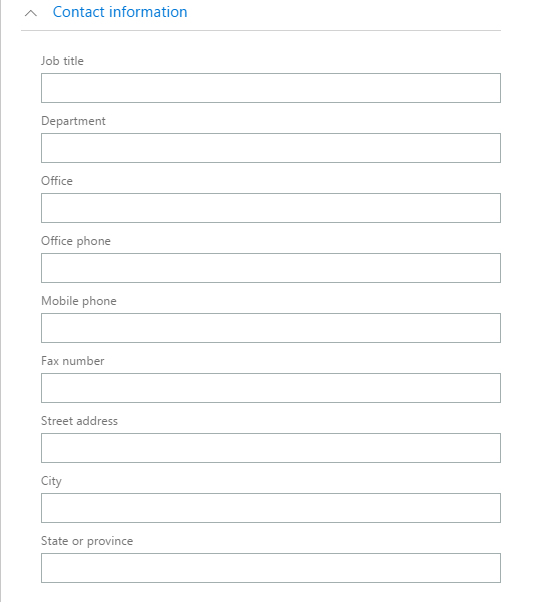
F. Once, you fill all the details, fill the contact information of the users.
1. Job Title
2. Department
3. Office
4. Office Phone
5. Mobile Phone
6.. Fax Number
7.. Street Address
8. City
9. State or Province
10. Zip Code
11. . Country
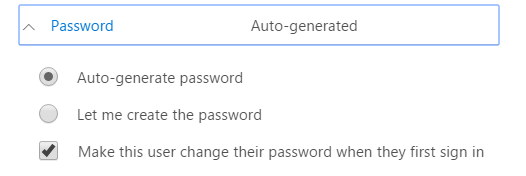
G. You have to configure the password for your user.
1. If you want to provide an auto generated password, use the first option.
2. If you want to create one, you can do that too.
3. You can select an option to allow the users to change their passwords on their first log in.
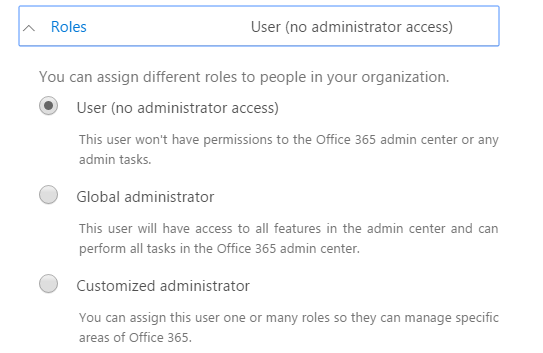
H. Once done, you can configure the roles here.
1. User - You can make the person just a user and don’t assign them any access on the admin center.
2. Global Administrator - You can make that person a global admin to access everything on the admin
center.
3. Customized administrator - You can configure the user’s admin rights here by choosing among the
following.
4. Billing administrator
5. Exchange administrator
6. Password administrator
7. Skype for Business administrator
8. Service administrator
9. SharePoint administrator
10. User management administrator
Lastly, we have the Product Licenses, which you can use according to the tenant policy.
Once done, click Save and a new user is created in Office 365.









Comments