Action: Add Time To Date In SharePoint 2013 And Office 365 Using Nintex Workflows
- Manpreet Singh

- May 7, 2019
- 2 min read
Welcome to an article on how to add Time to Date in SharePoint 2013 and Office 365 using Nintex Workflows. This article will display the action “Add Time to Date” which can be used while developing Nintex workflows according to our requirement.
Using this action you can add Time to your Date field in terms of months, days, hours and minutes. Let’s see the implementation of this functionality.
Create a list, Dev Testing.
Click on the List tab on the Top ribbon and click on Nintex Workflows.
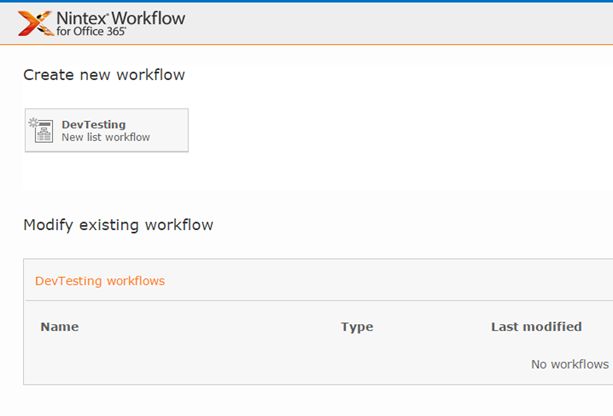
You will see the following screen, to create a new workflow.
Click on “Create new workflow”.
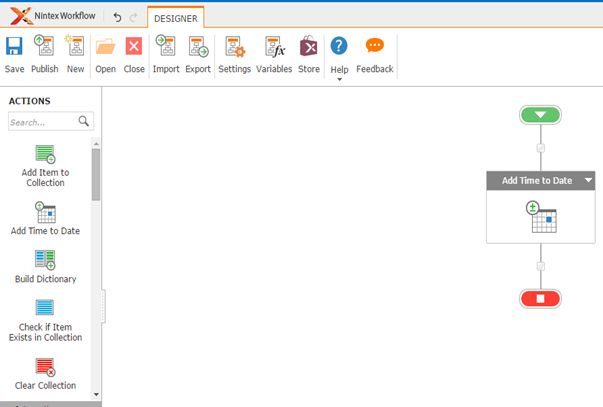
You will come to the design phase of the Nintex workflows.
Add the action, “Add Time to Date” either by right click on the workflow or by dragging and dropping from the left toolbox.
Now let’s configure it.
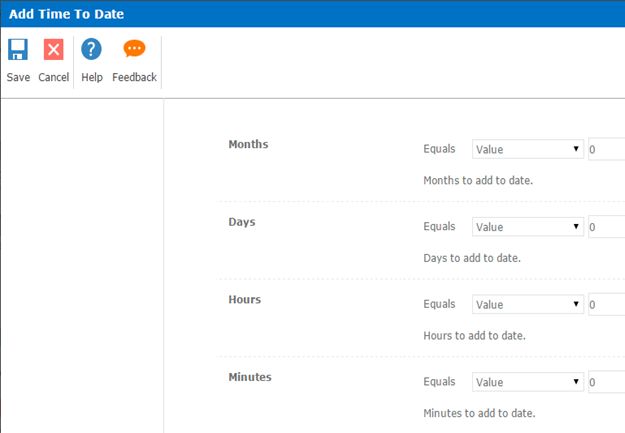
When you double click on the action the following screen opens up.
Form Parameters
Here we have the following form parameters,
Months: Specify the months you want to add.
Days: Specify the days.
Hours: Specify the hours.
Minutes: Specify the minutes.
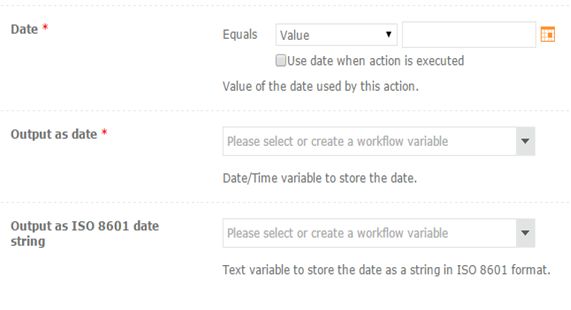
Date: Specify the date or the column on the list where you want the above configuration of months, days, hours or minutes to be added.
Output as date: Provide a Date variable to store the value after the date is updated.
Output as ISO 8601 date string: You can also have the output in ISO 8601 date string.
When you specify a date, based on the configuration values of months, days, hours or minute the date gets updated and stores the updated value in a variable.
So in this article we saw how to add Time to Date in SharePoint 2013 and Office 365 using Nintex Workflows, we will see more new articles on the actions of Nintex Workflows in the other parts of the article. Till then, keep learning!


Comments